How to set up your HubSpot meeting link
Are you a video person? Check out this video to learn how to create and set up your HubSpot Meeting Link, otherwise take a look below at the steps written out.
HubSpot Knowledge Base article connecting your calendar
HubSpot Knowledge Base article setting up your meeting link
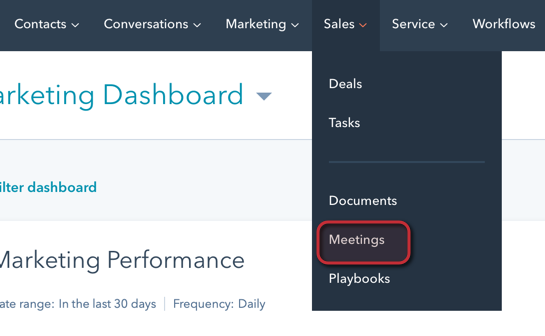
- From the HubSpot Menu bar, select Sales - Meetings
- Select either Google or Outlook 365, whichever is your email provider.
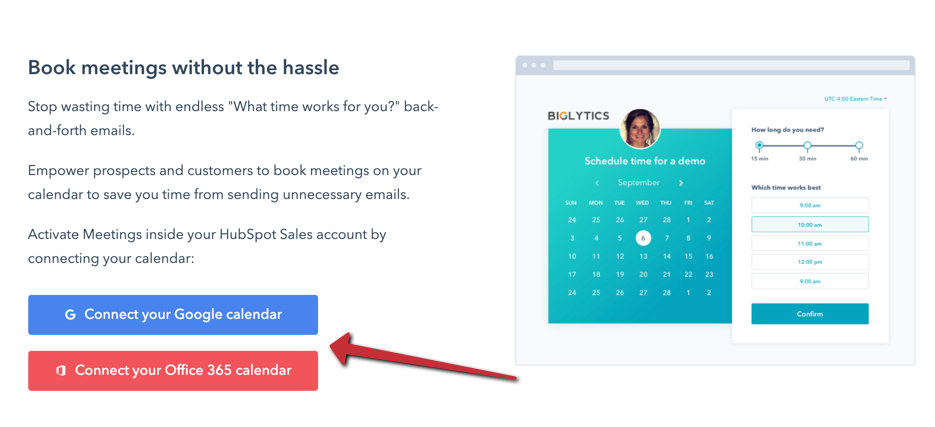
- Select "connect your calendar"
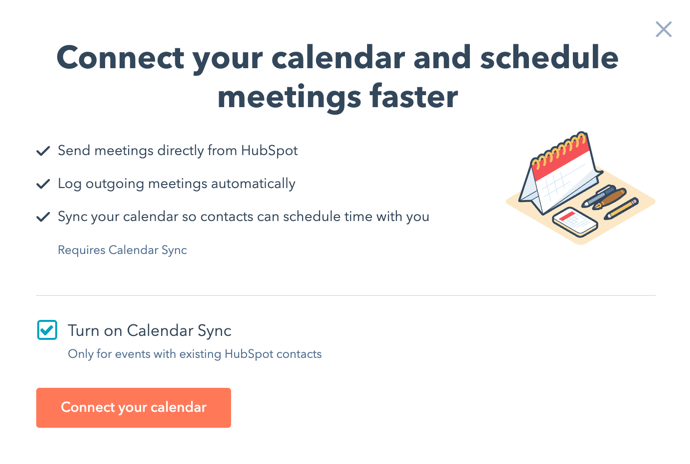
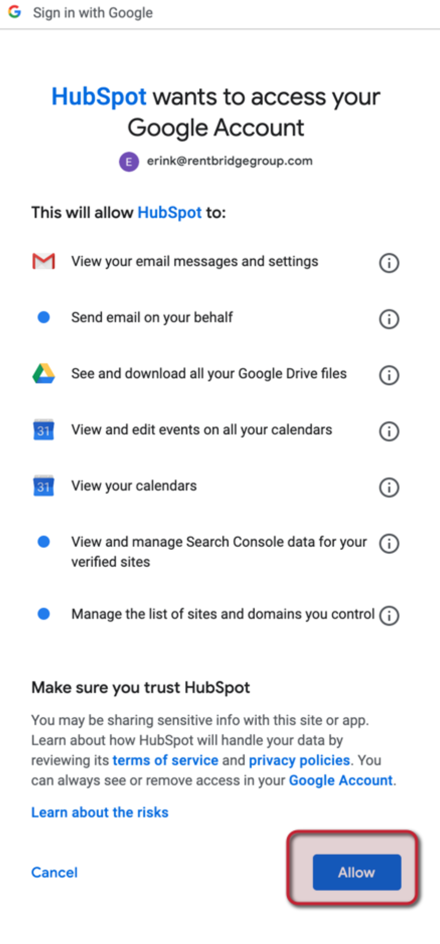
- Next review the T's and C's from HubSpot
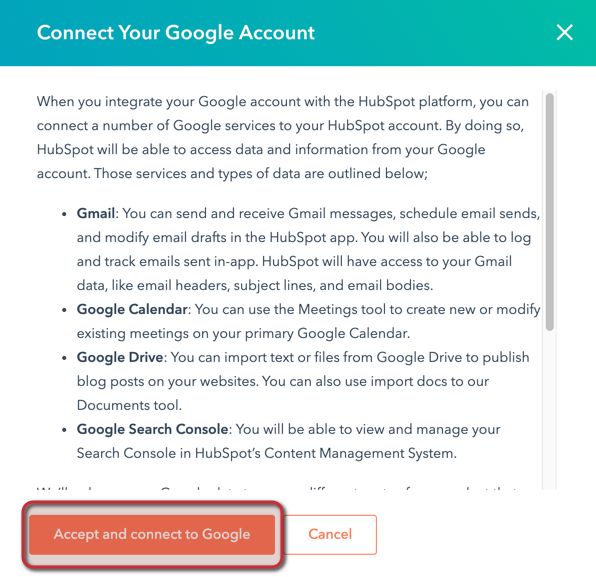
- You will be taken to your google account and prompted to login. Once you select the correct account to connect to you will have to allow the integration. Simply select “Allow”
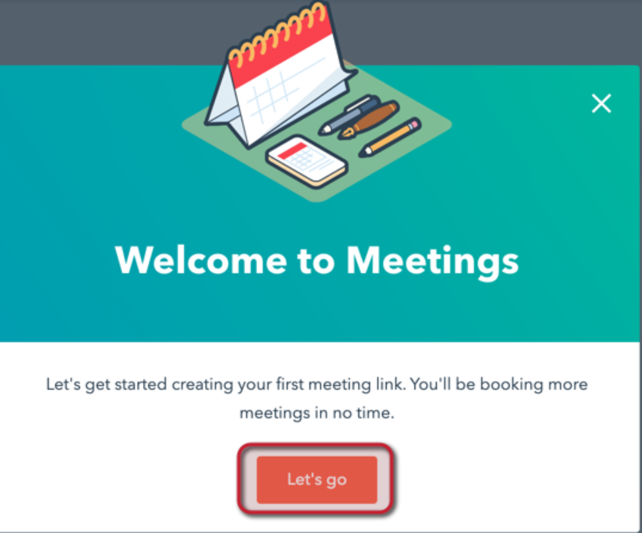
- You should receive a notification that your account has been successfully connected prompting you to create your meeting link.
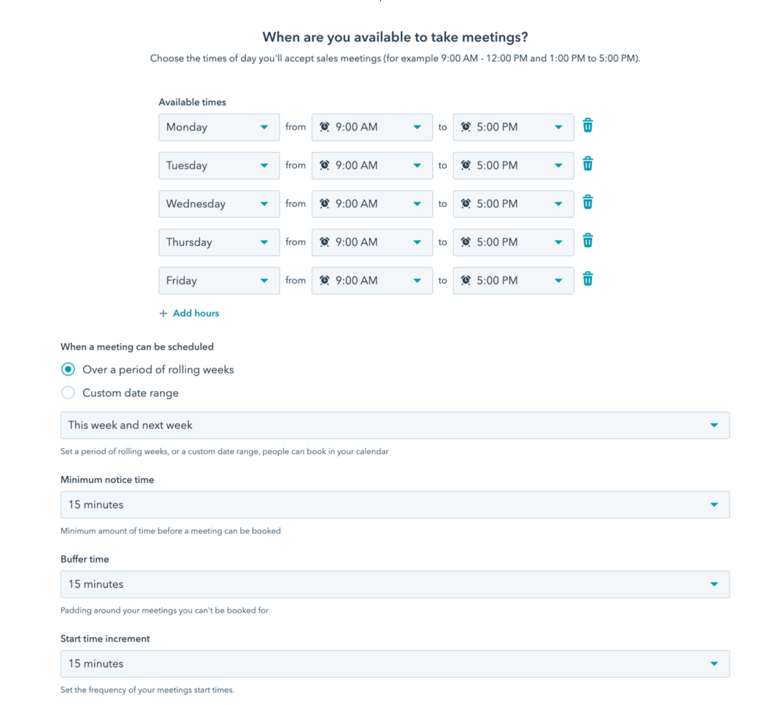
- Next you will be able to do a bit of customizing to your available times to have a meeting. Adjust as necessary. Other items that can be customized include: When a meeting can be scheduled, minimum notice time, buffer time and start time increment.
- Next, you are able to add in your form questions for the person who is scheduling with you. Typical fields are First Name, Last Name and Email. Go ahead and click Next.
NOTE: In order to add additional custom fields, you must have a paid sales seat. See your account administrator to learn if you qualify to receive a paid seat.
- You will then be able to see your booking page link. Click done! You can add this booking link to your email signature as well.
- Next, you have to further customize your link.
-
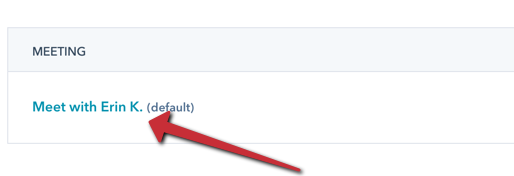
Click the meeting link that you just created.
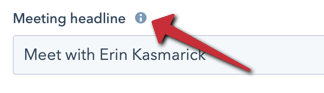
- On the details page you are able to edit your meeting picture, meeting headline, meeting name, meeting type and duration. To see what these mean simple click the circle with the "i" in it and make adjustments accordingly.
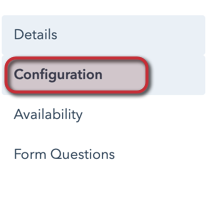
- Next select configuration.
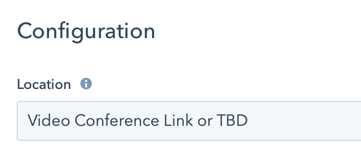
- Here you will update the Location (put your zoom or video confrencing link, or you can always put TBD and edit that after a meeting is scheduled IE: if you need to meet at a property etc.)
- Next update your invite subject line. We like to put “Meeting with YOUR NAME & Contact: First Name Contact: Last name. You will want to insert tokens for the contact first and last name of the person you are meeting with (this pulls from the form that is submitted when a lead books a meeting).
- Type in Meeting with ENTER YOUR NAME (IE: Erin Kasmarick) & then select “contact token” find first name and enter. Then insert a space and again select “contact token” and find last name.

- Leave the invite description blank as this can be added after a meeting is booked if necessary.
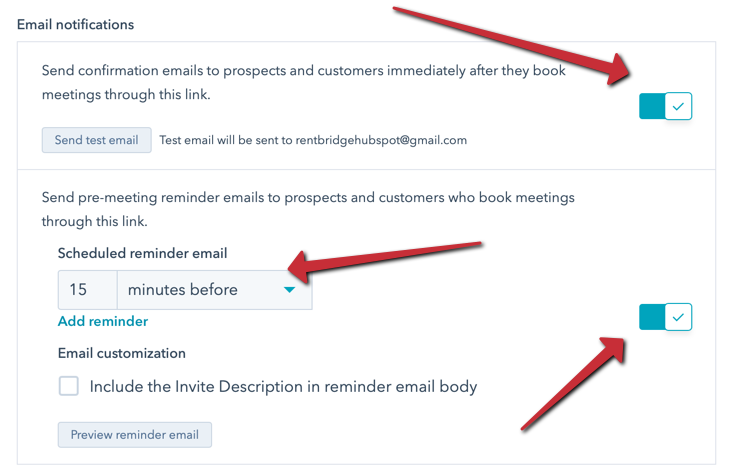
- Next, make sure that your email confirmations are on and also turn on the reminder emails that are sent to invitees prior to your meeting. You can customize when these reminder emails are sent. Make sure to SAVE when finished.
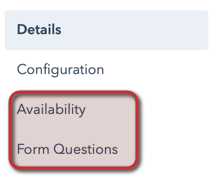
- The next tab is availability, which you already completed when you synced your calendar. Make any updates to that tab as needed as well as the form questions tab. Make sure to save.
- Thats it! Your meeting link is set up and customized. You are able to create multiple meeting links if necessary.
- To use your link simply copy the url and use where needed. To preview your link, select open link
