Thanks for purchasing the Real Estate Pro Theme. Any question that is beyond the scope of this documentation should be asked on our support platform.
Before you start building your new website with Real Estate Pro Theme we strongly recommend you create a child theme.
By creating a child theme before you start building you set up a safe environment that can be edited/modified within your HubSpot portal. While still receiving any updates or bug fixes.
Brand Settings
The Real Estate Pro theme will automatically inherit settings like the company's brand logo, and favicon from your HubSpot settings to be used across your website content.
Learn more about your HubSpot brand settings
Navigation
When building your website, you'll spend time organizing the information architecture of your content. Your navigation menus will include the most important pages that your website visitors will want to access quickly or frequently while browsing your site.
To edit your website navigation please visit settings from the top right corner of your portal. Scroll down on the left-hand bar and under websites click on the navigation option
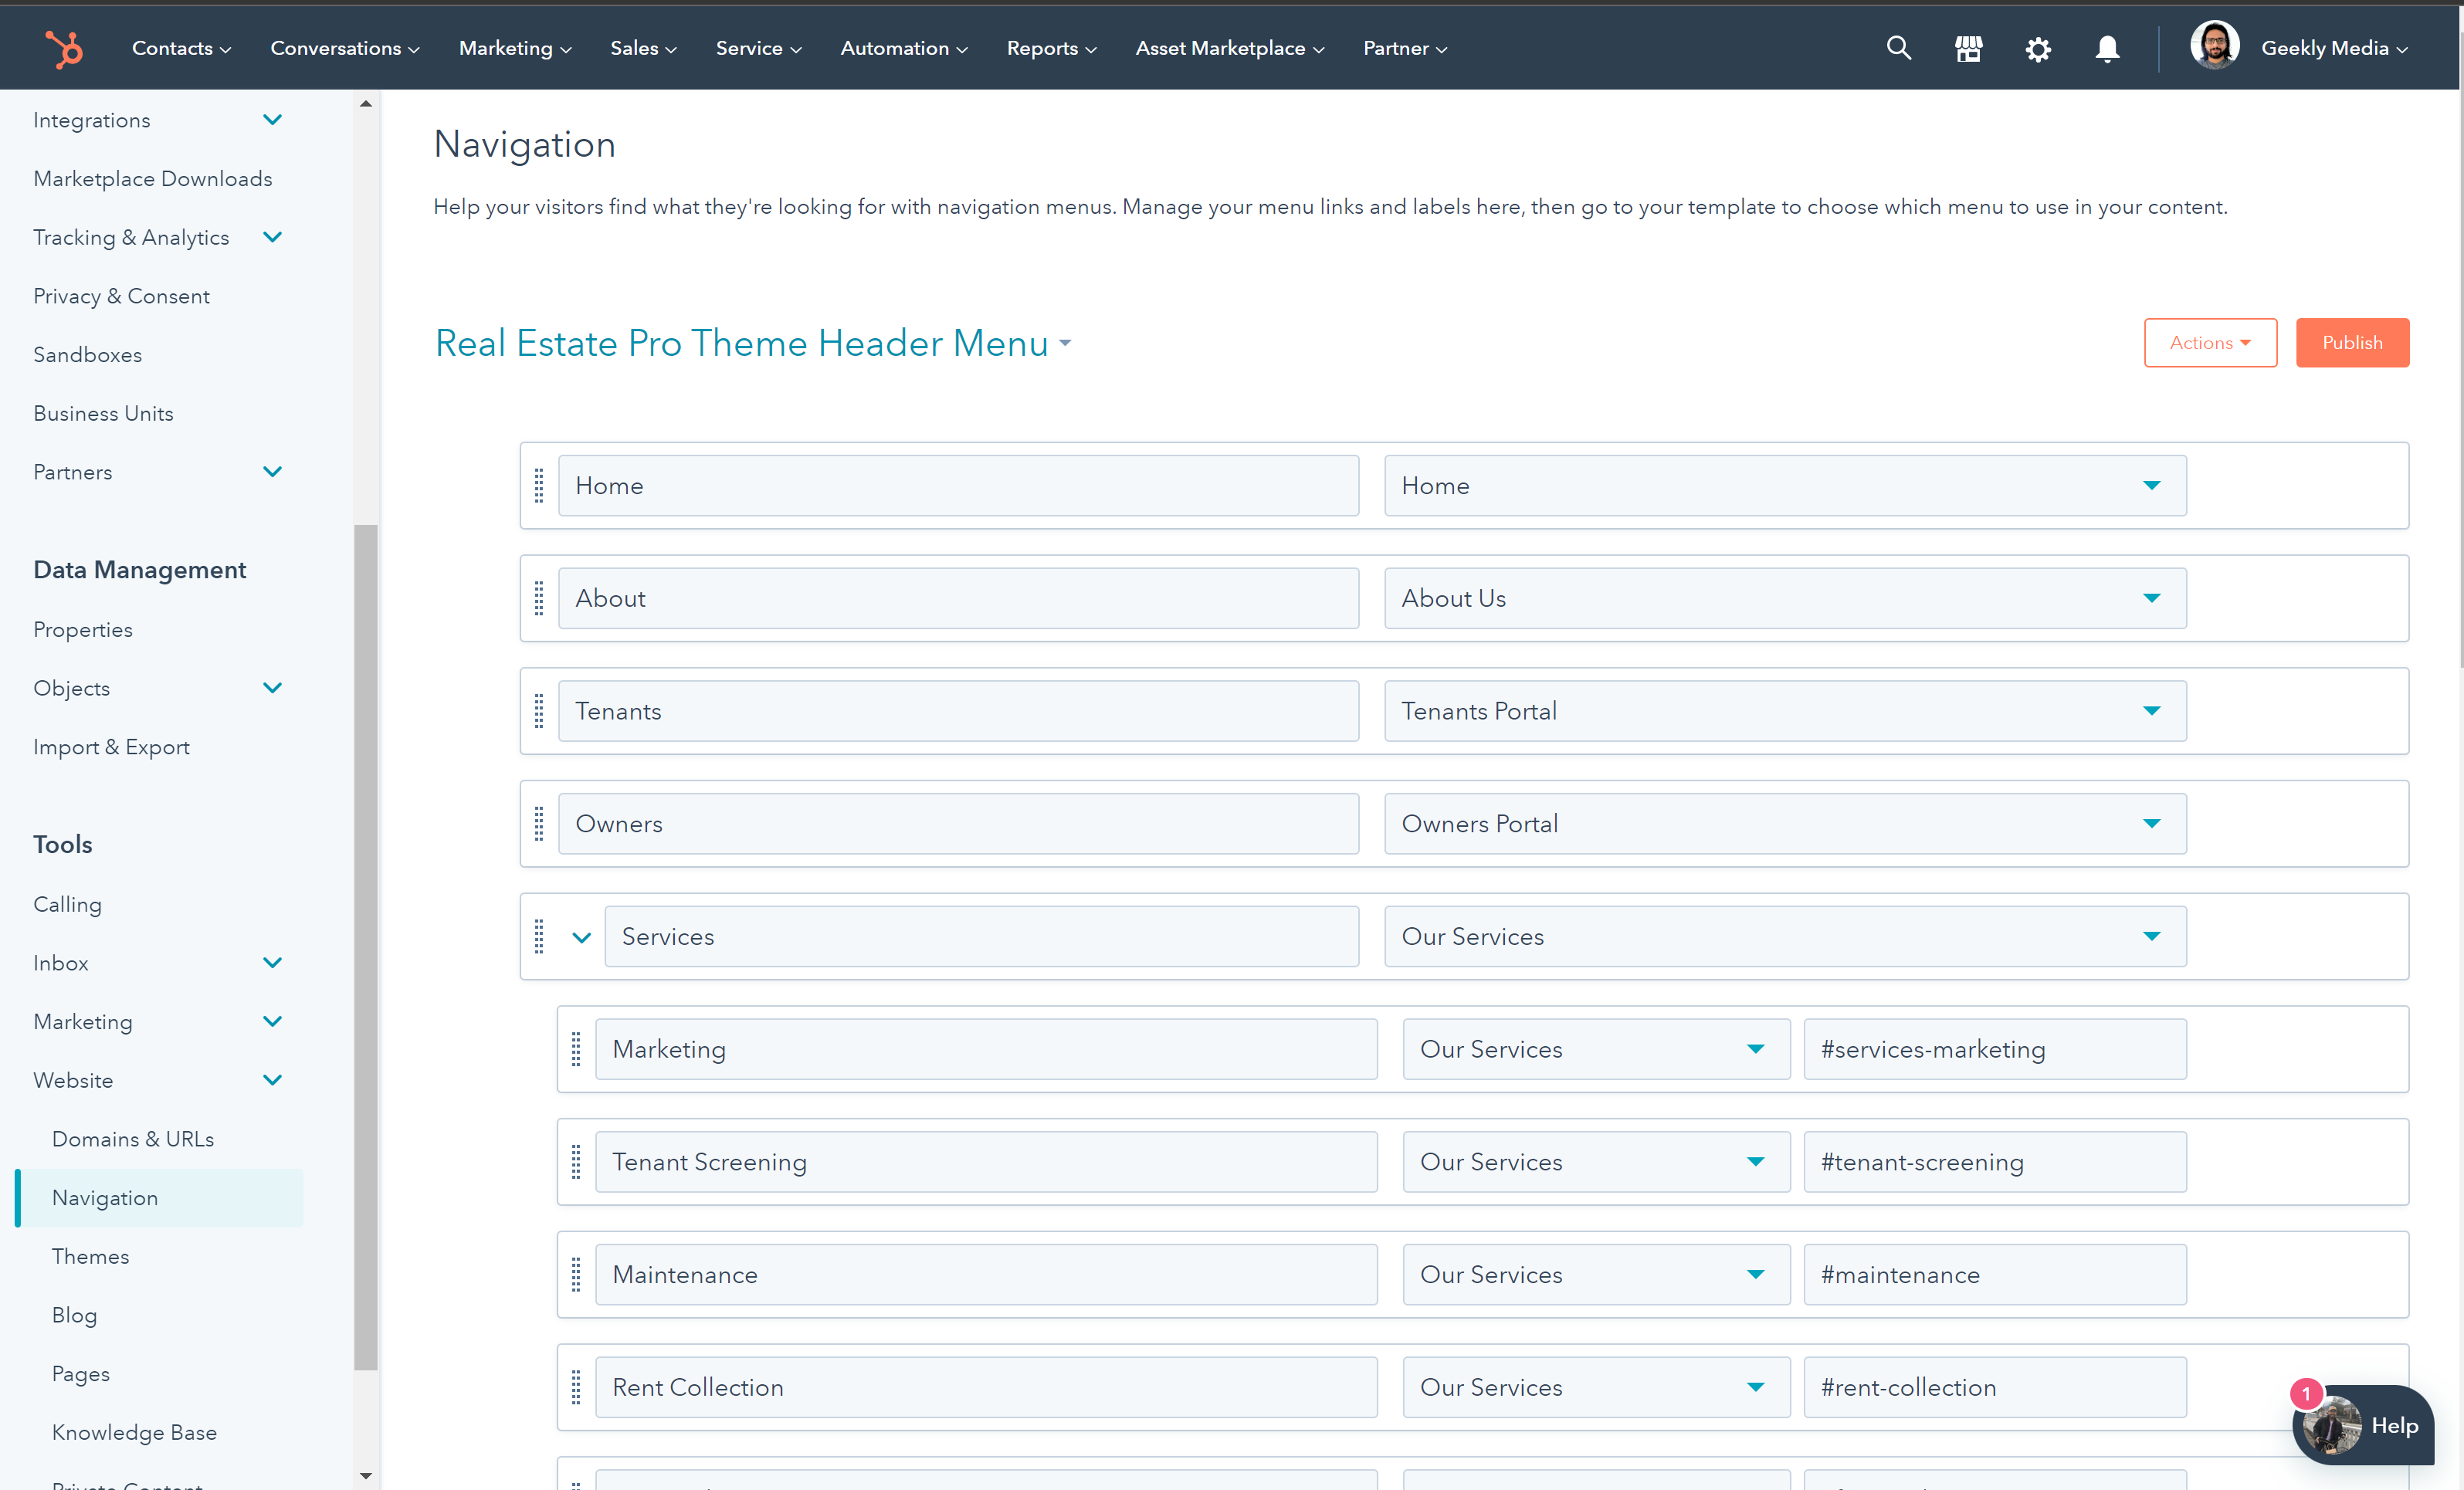
You need to click on the add menu button under the dropdown where your existing navigations are set up.
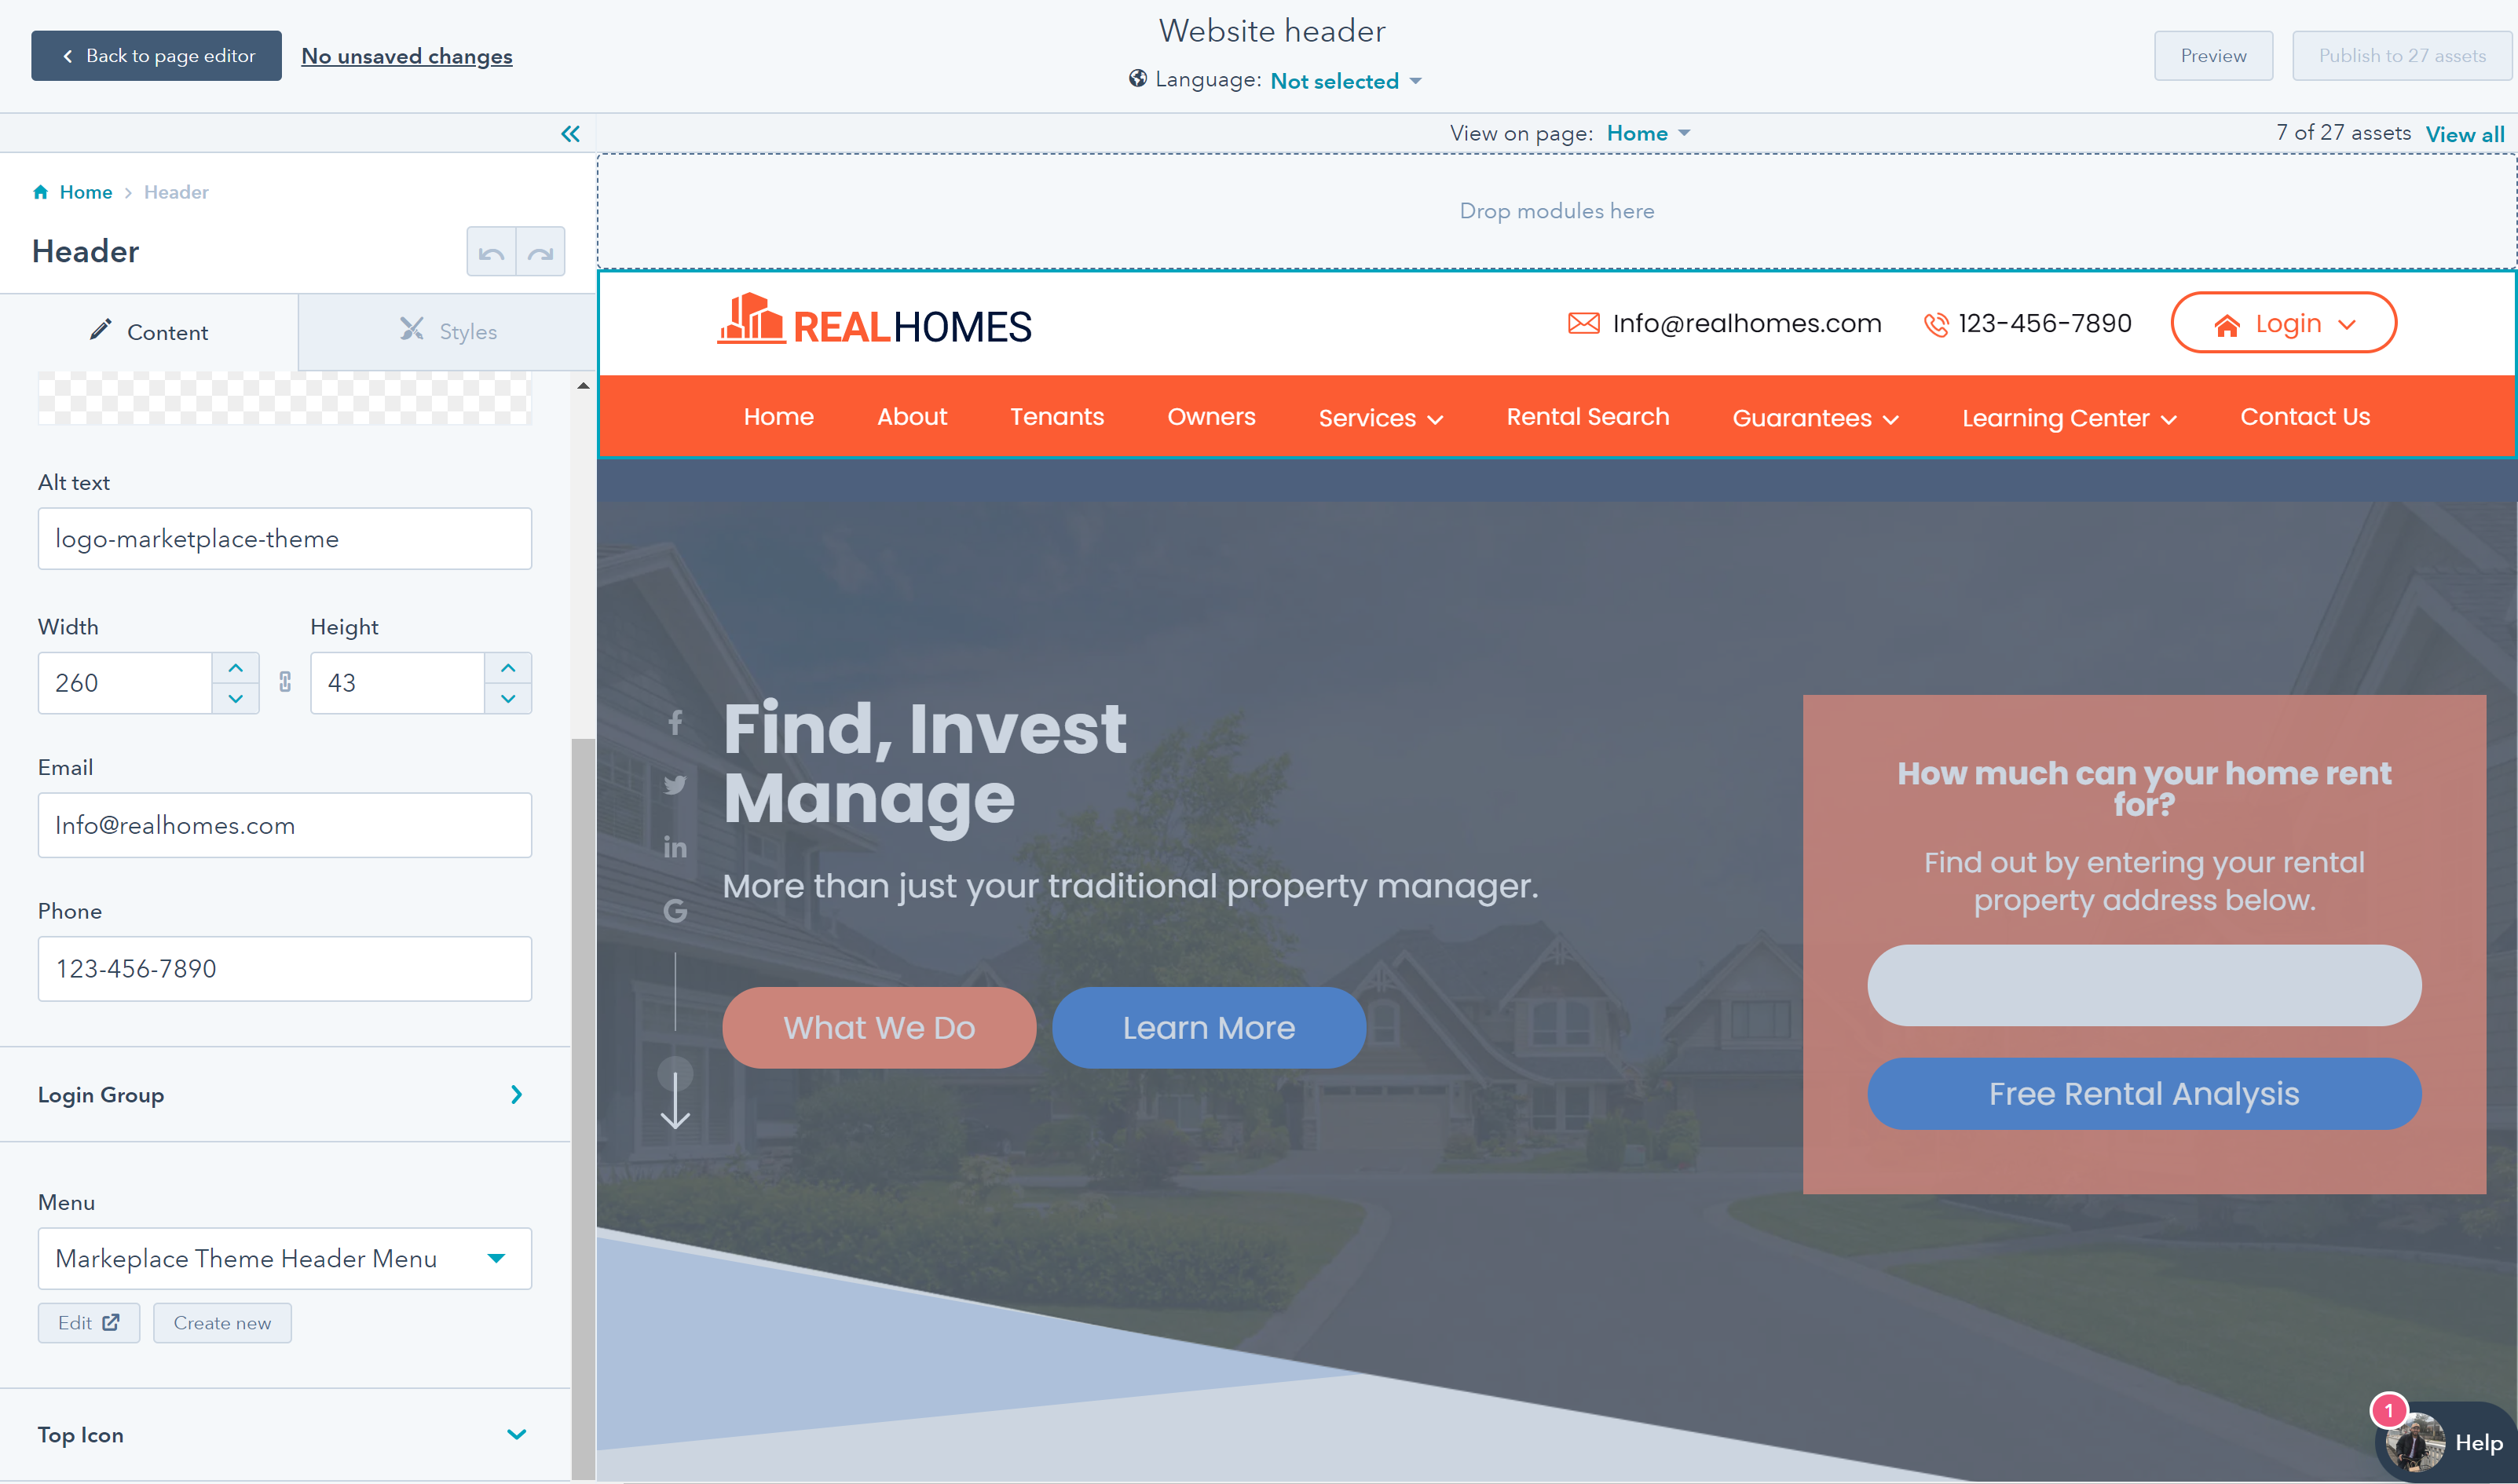
Once you have added all your navigation items and published it, you need to go to your website's global header and select the new navigation menu you created
Learn more about customizing your website's navigation menus
System Templates
Systems templates are used for certain types of pages generated automatically by HubSpot.
Examples of system templates include:
- Error page: 404 and 500 error pages to let your users know that they have reached a page that does not exist or a technical issue has occurred.
- Password prompt page: a password prompt page for any content you've locked with a password.
- Subscription page: the subscription preferences page where your email recipients can manage the email types they are subscribed to and unsubscribe from all emails. Update this template to engage with your contacts during the subscription process (e.g., explain how your contacts can opt back into particular email types so they can resubscribe if they change their mind).
- Backup unsubscribe page: a page that will appear for email recipients who are trying to unsubscribe, if HubSpot is unable to determine their email address.
- Subscriptions update page: the confirmation page that appears when an email recipient updates their subscription preferences.
- Search results page: the page that displays search results when visitors use the site search.
You can select the Real Estate Pro theme's systems templates from within your HubSpot account settings.
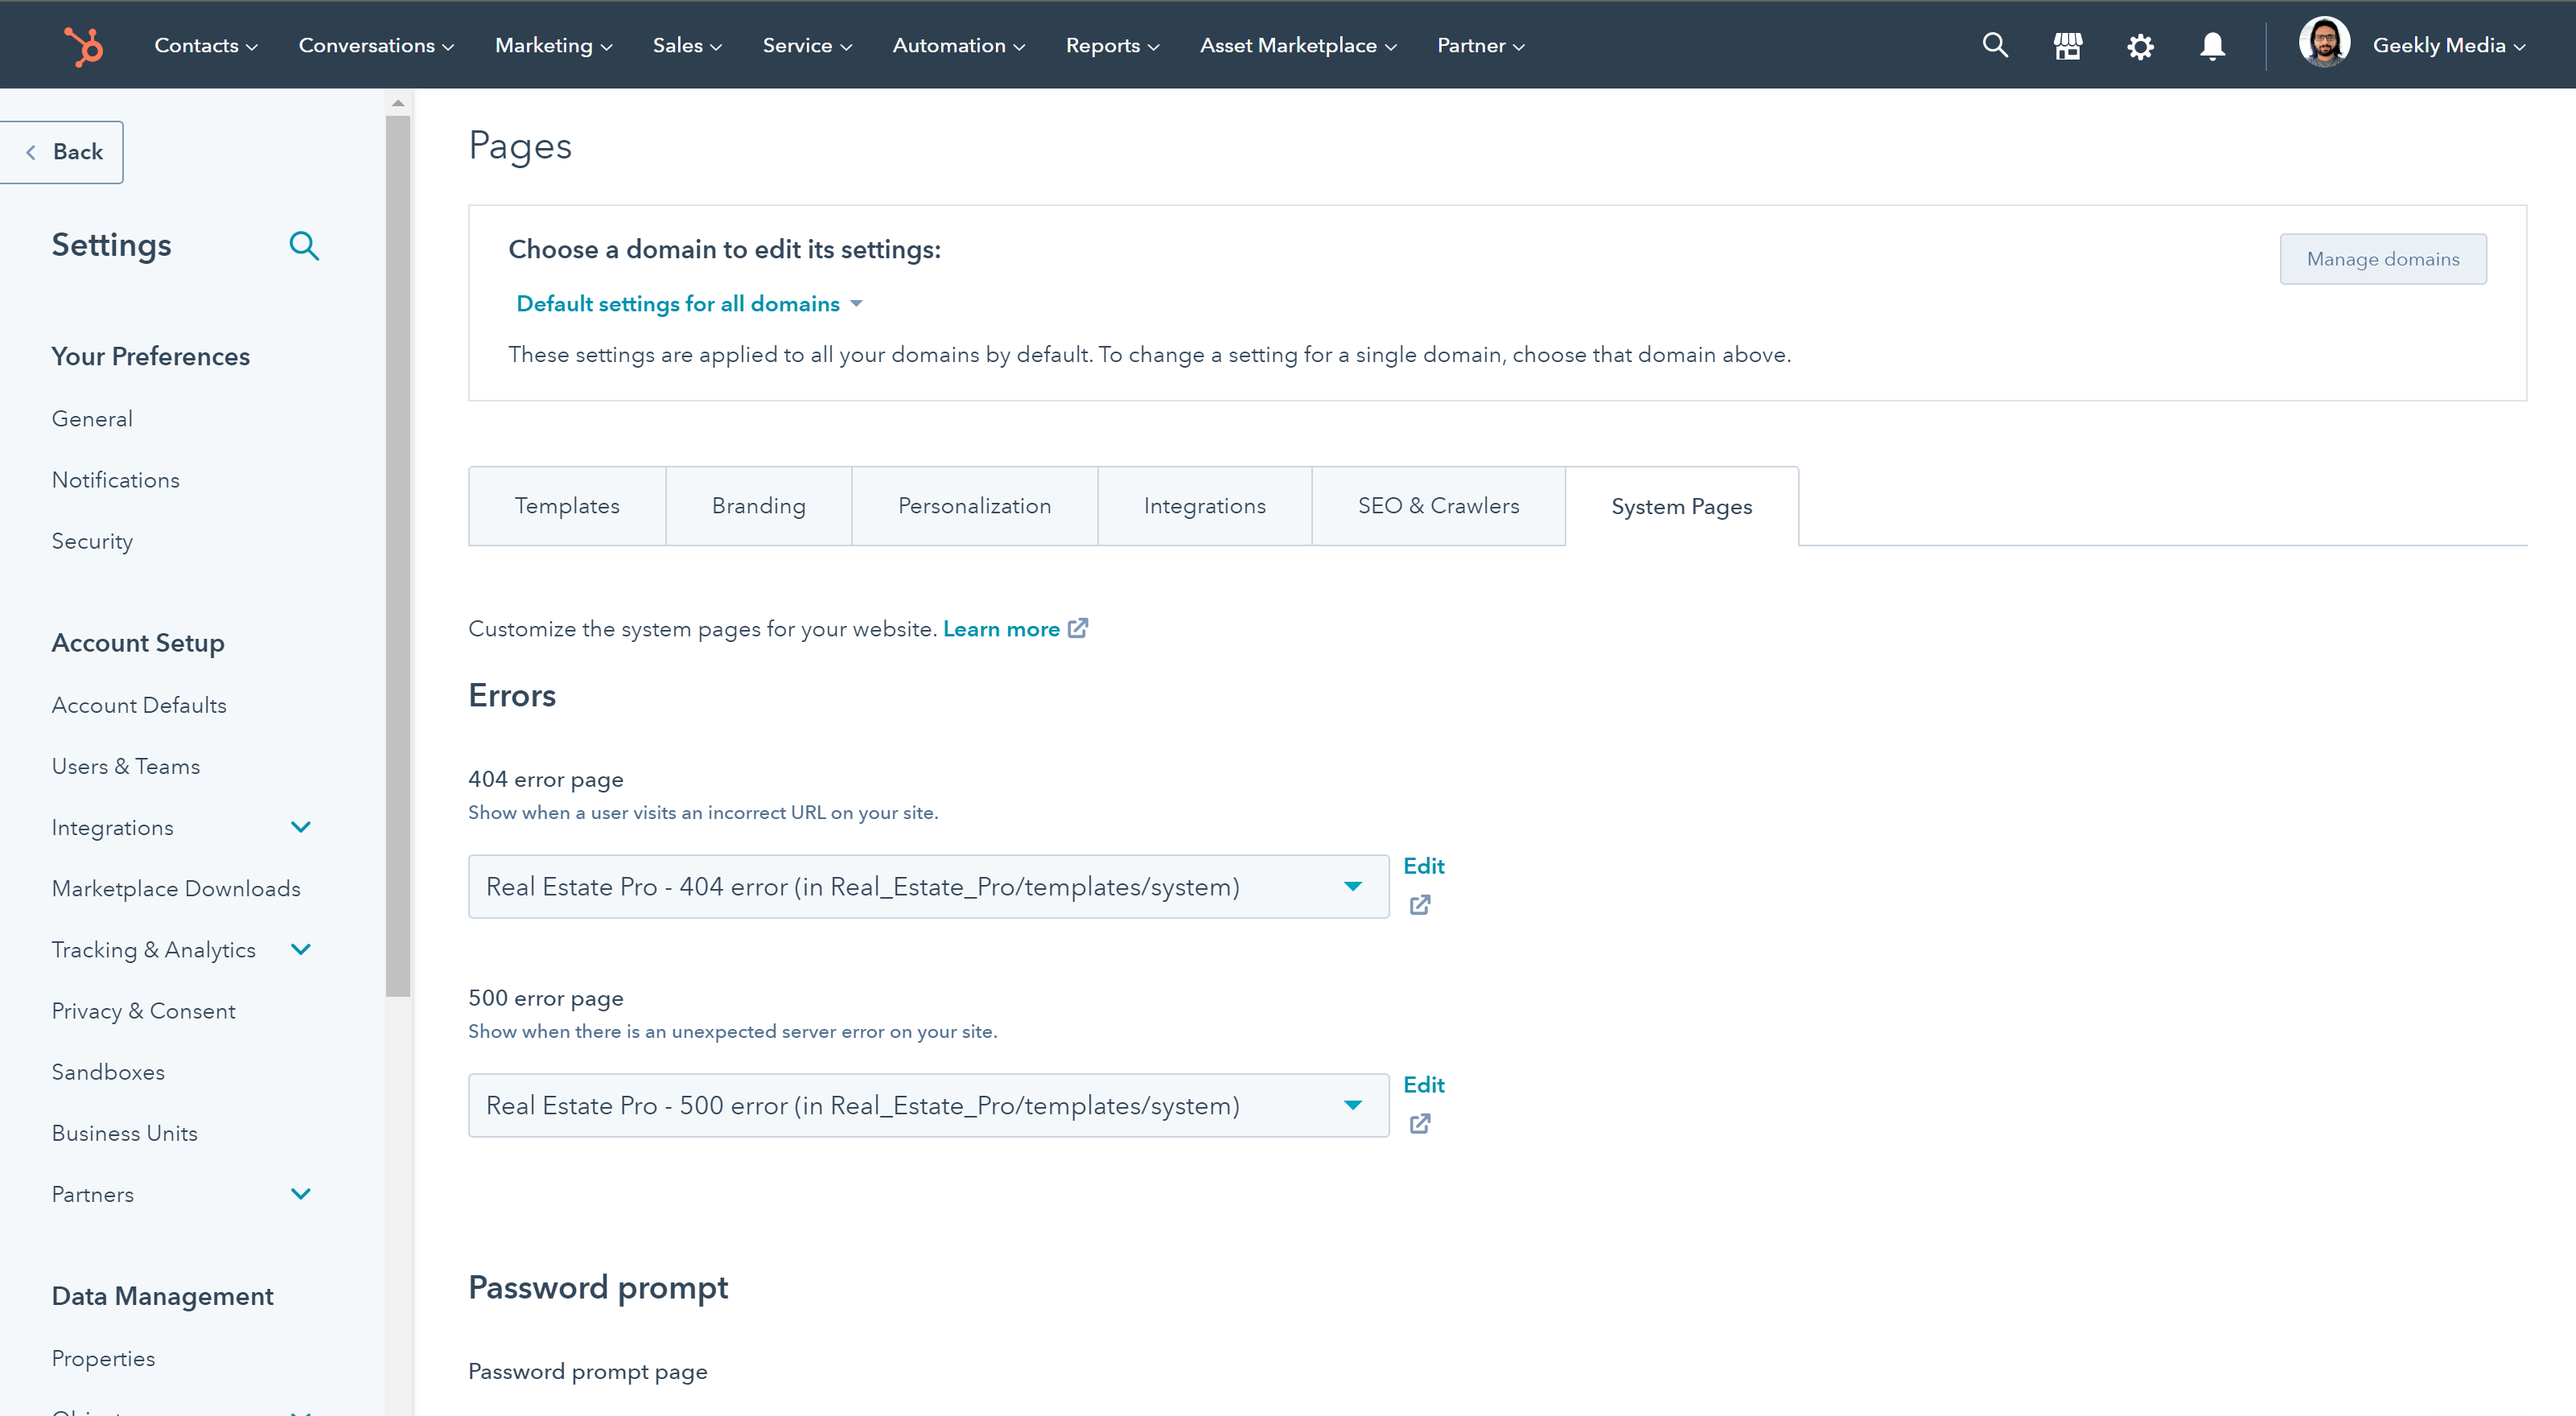
Learn more about setting your website's system templates
Blog Templates
The Real Estate Pro theme ships with a blog listing and blog post templates for your HubSpot blog. You can add the Real Estate Pro blog templates to your HubSpot website and manage your blog settings from within your HubSpot account settings.
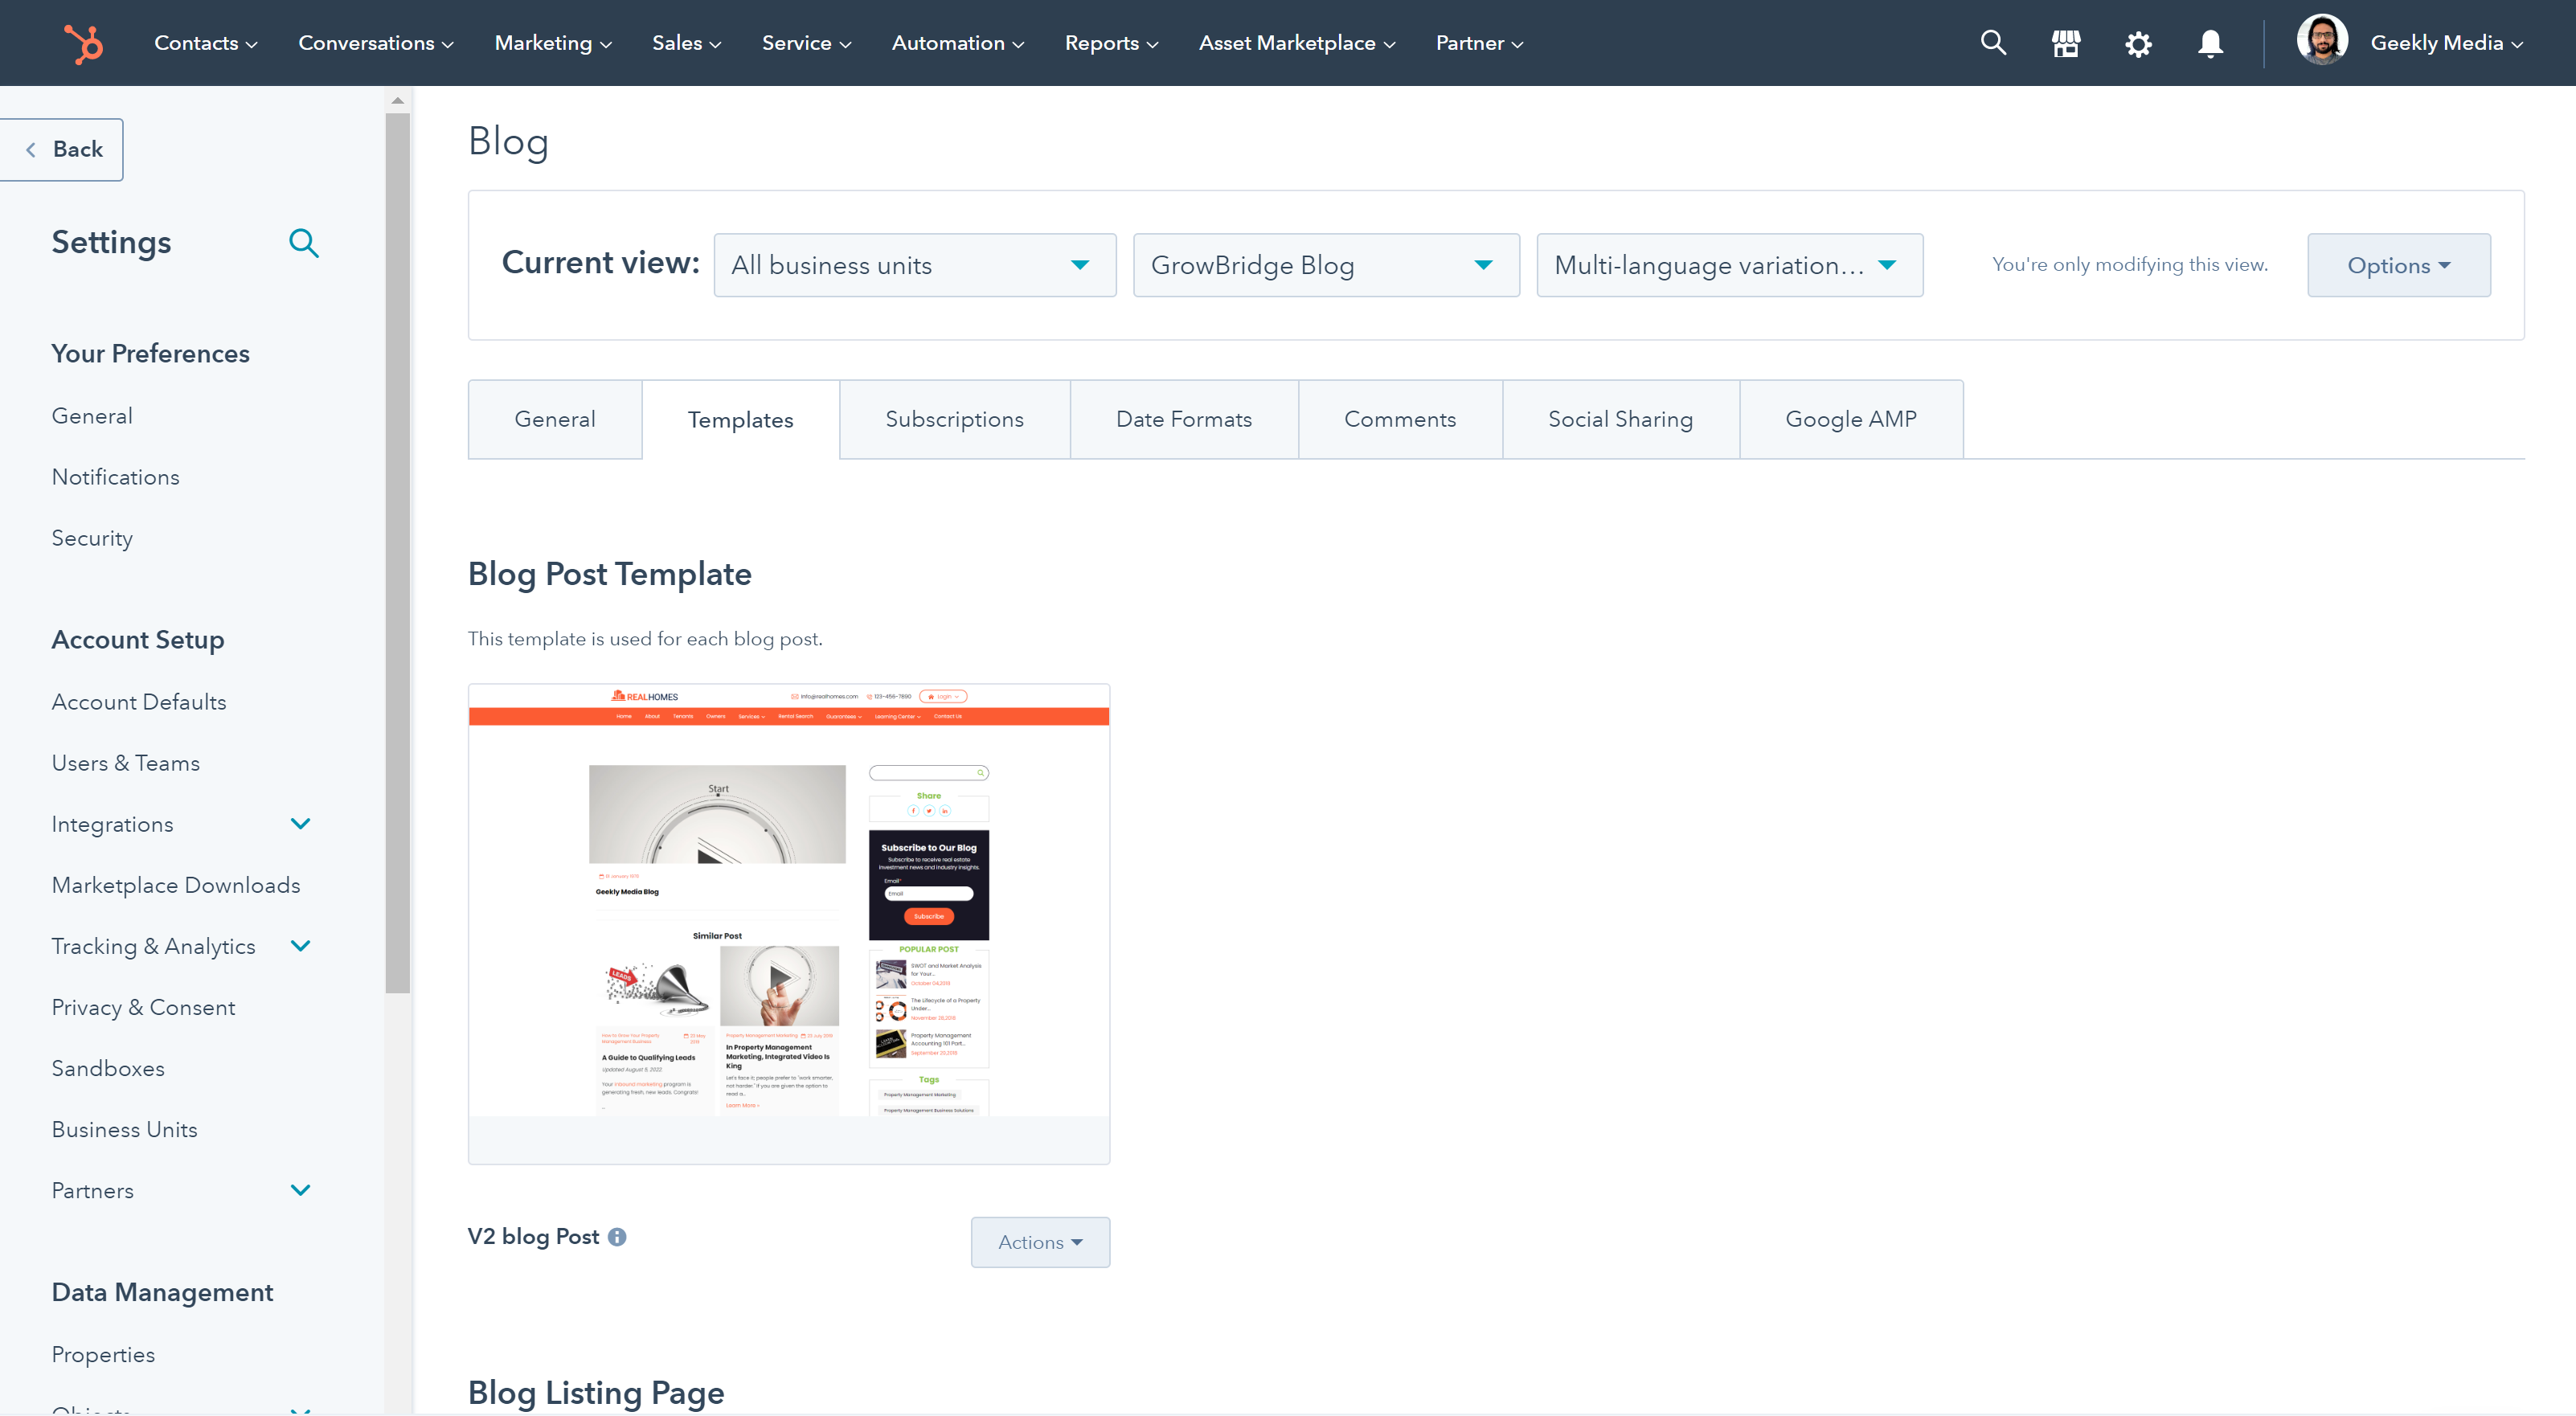
Learn more about HubSpot blog settings
Global Theme Settings
To make sure that your website looks consistent, style settings for all pages using the same theme are managed in your theme settings.
You can easily customize your theme's settings by clicking the Design tab on the left panel in the page editor. Theme settings can be adjusted with intuitive controls such as toggles, switches, and color pickers.
To edit colors on your website, please go to page editor - under the theme tab on the left side column click on edit theme settings
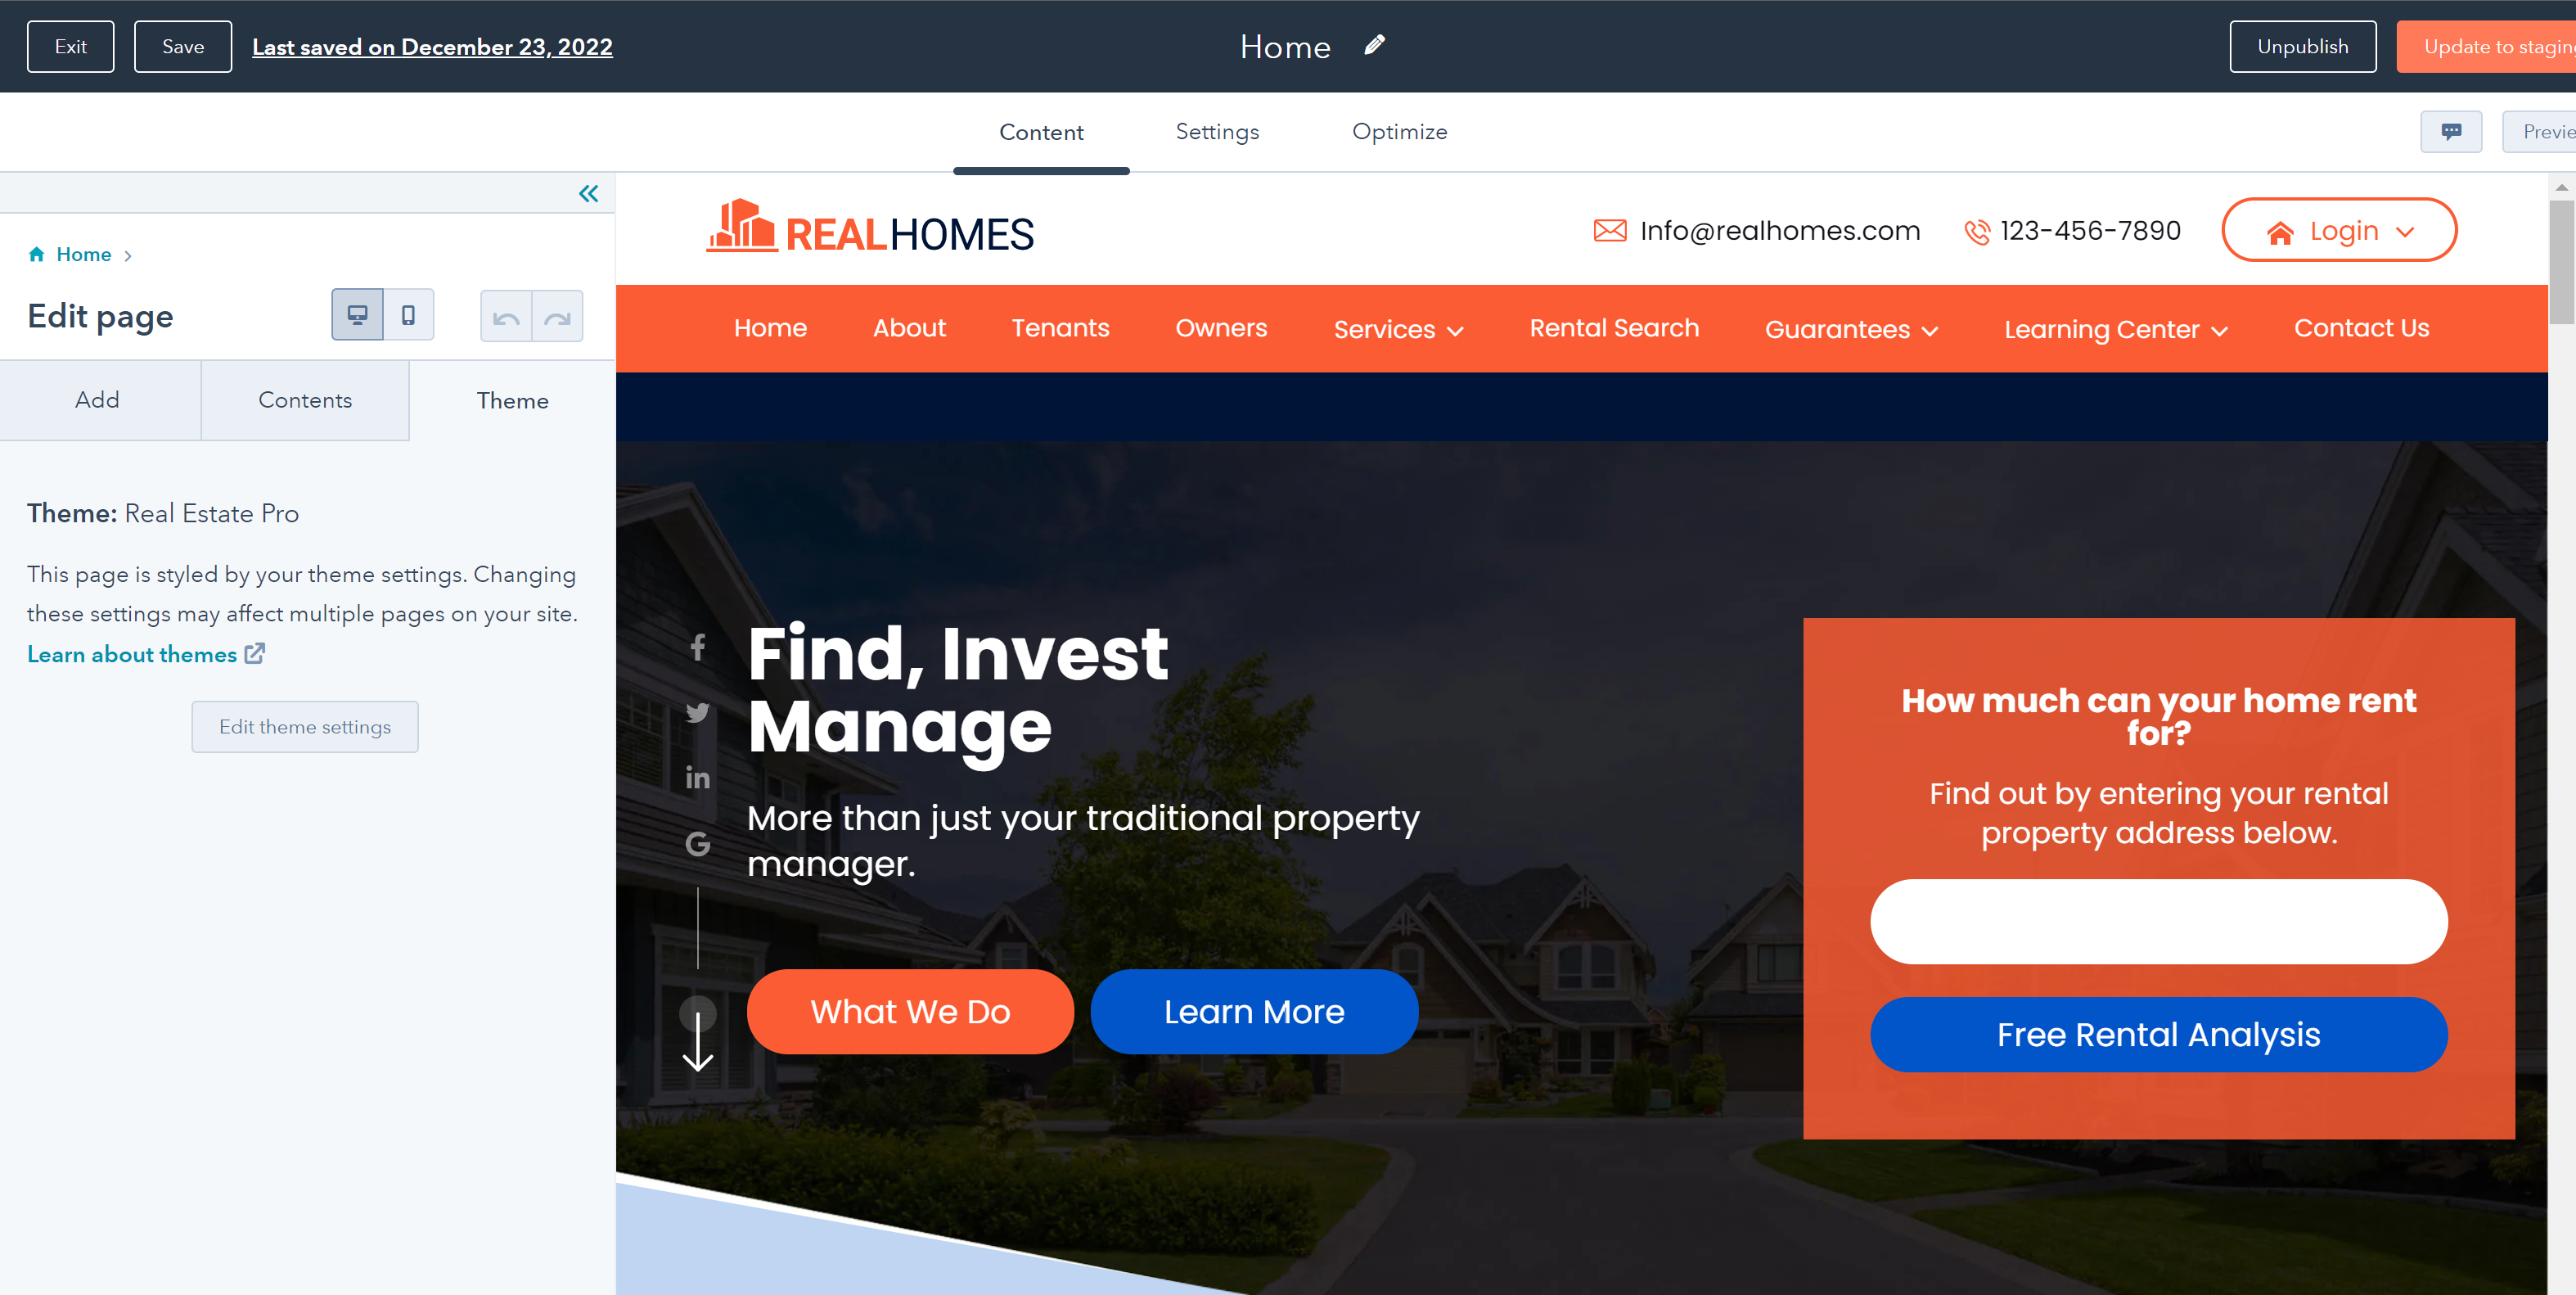
You can edit your website's Global Colors, Fonts, Buttons, Forms, Tables, Spaces, and Footer from the theme settings
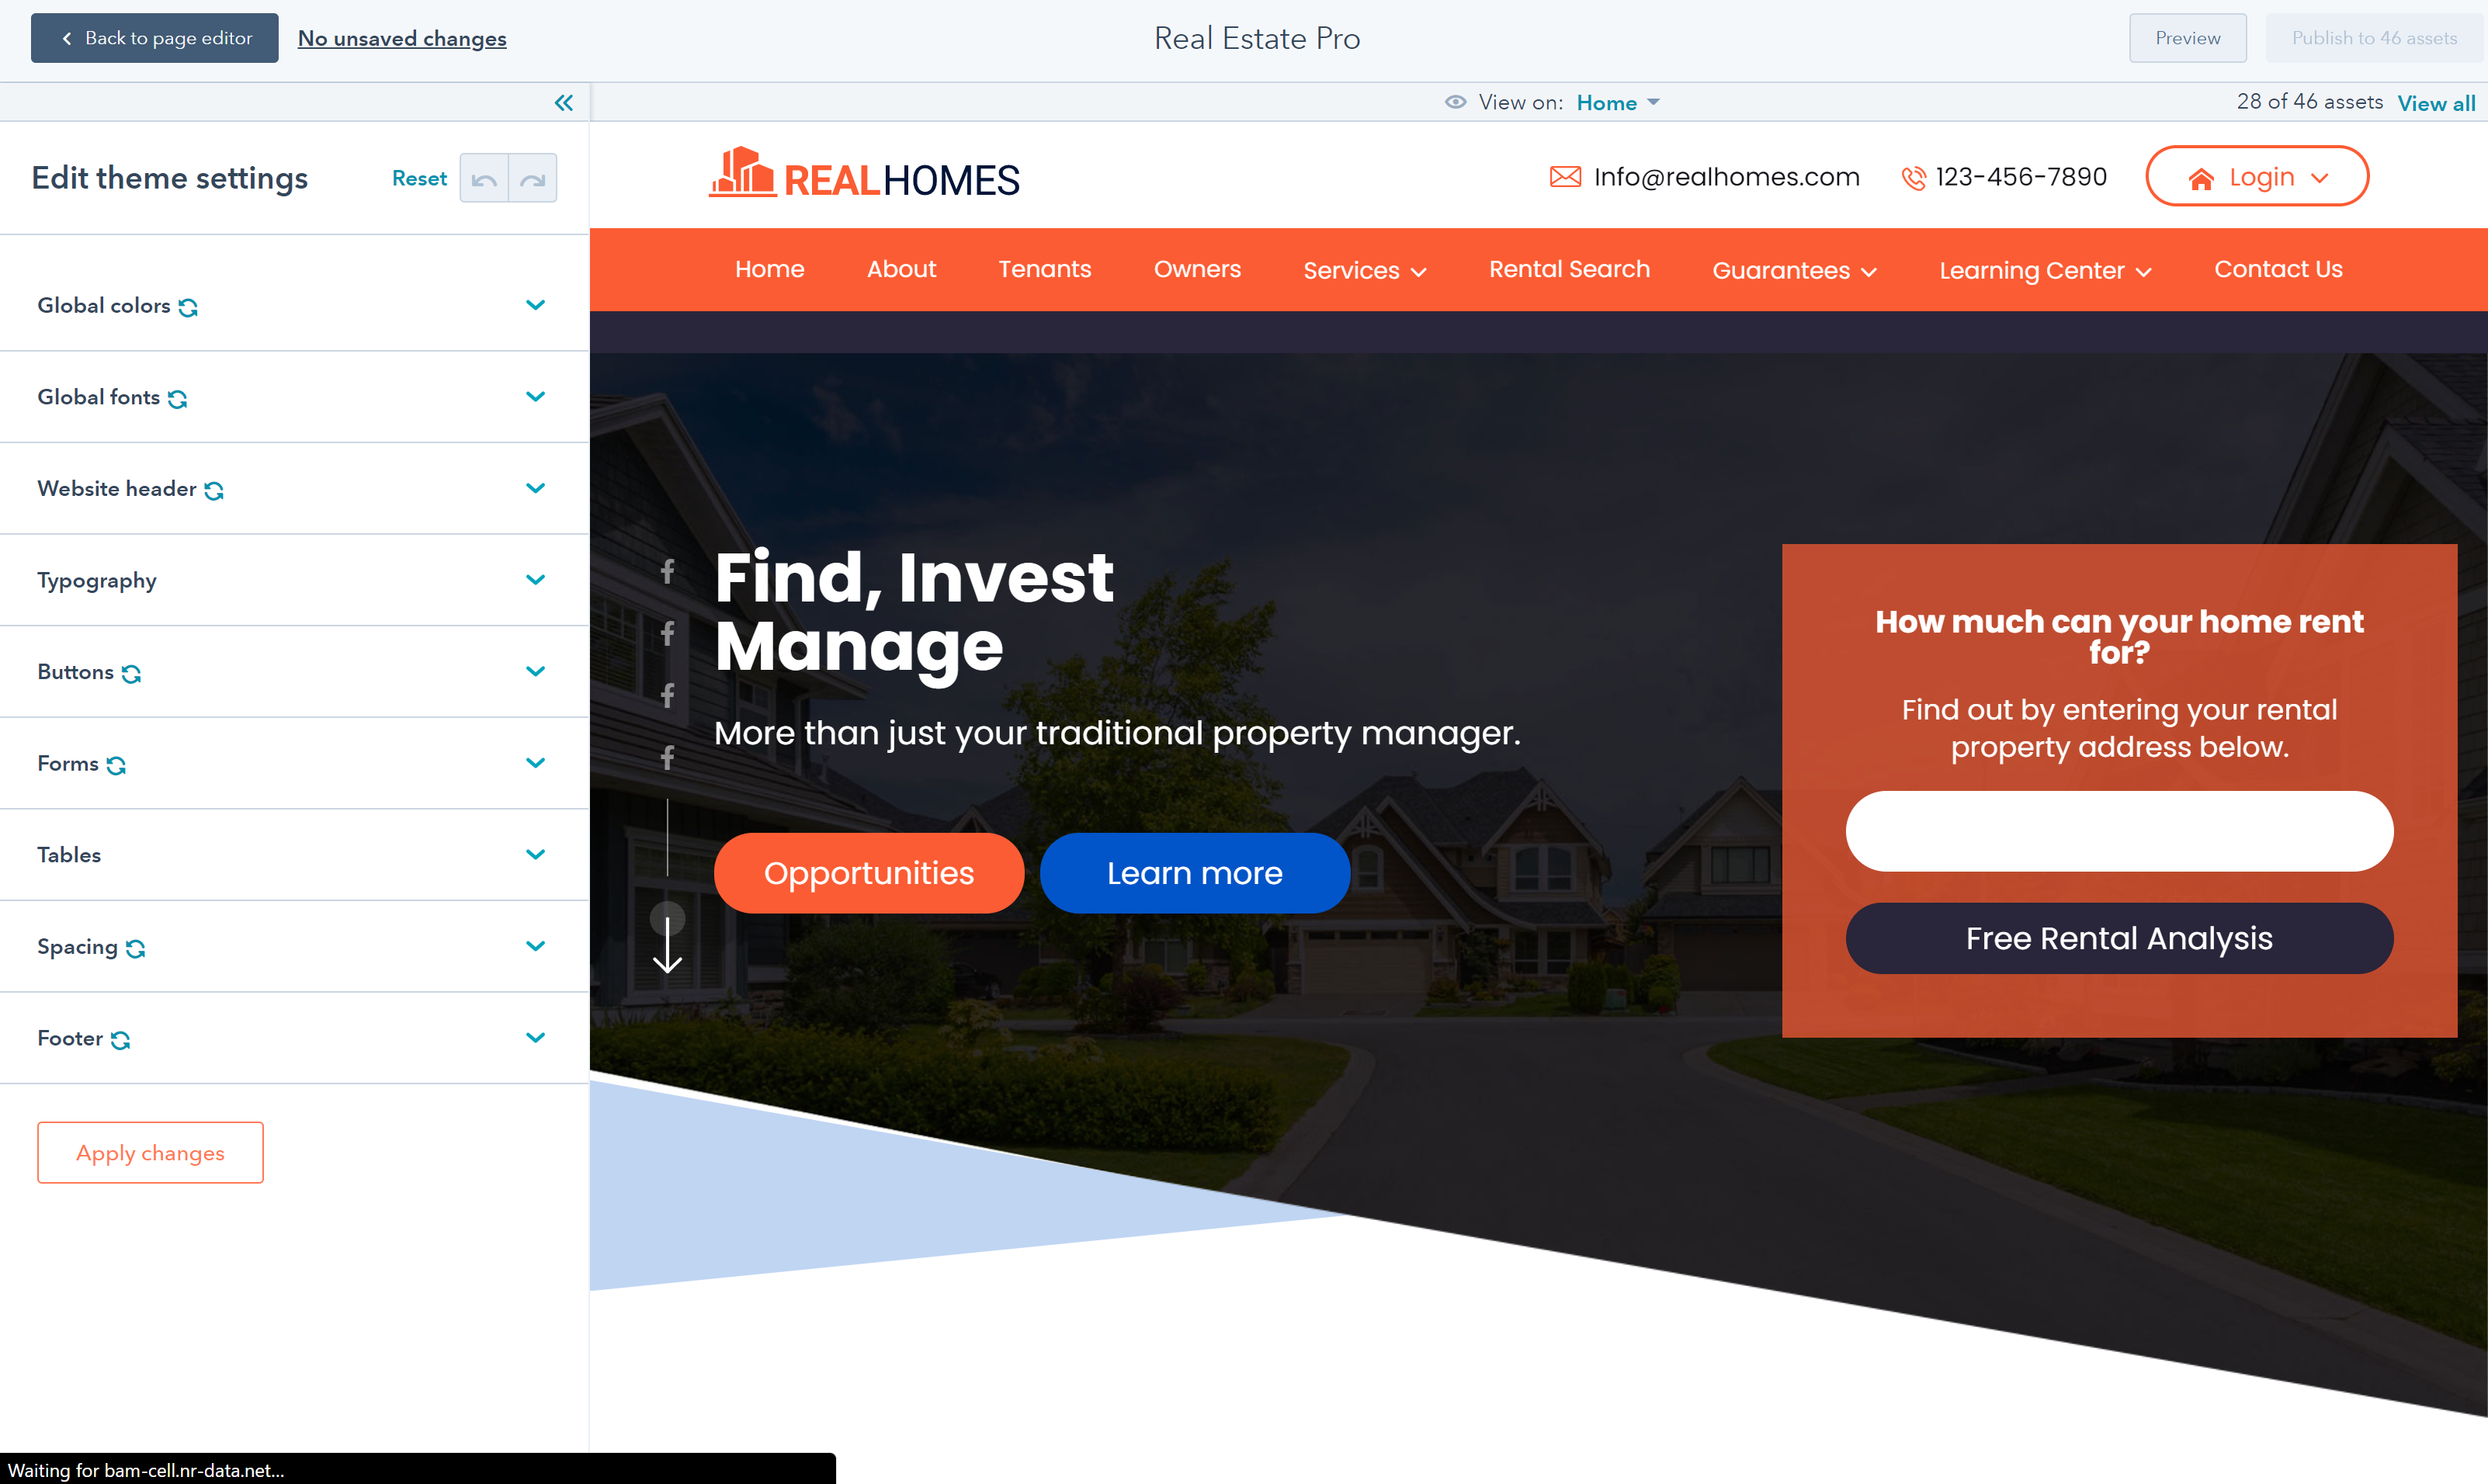
Learn more about editing your theme settings
Website Header
You can update the header of your website by clicking on the global header module in the page editor of any of your pages
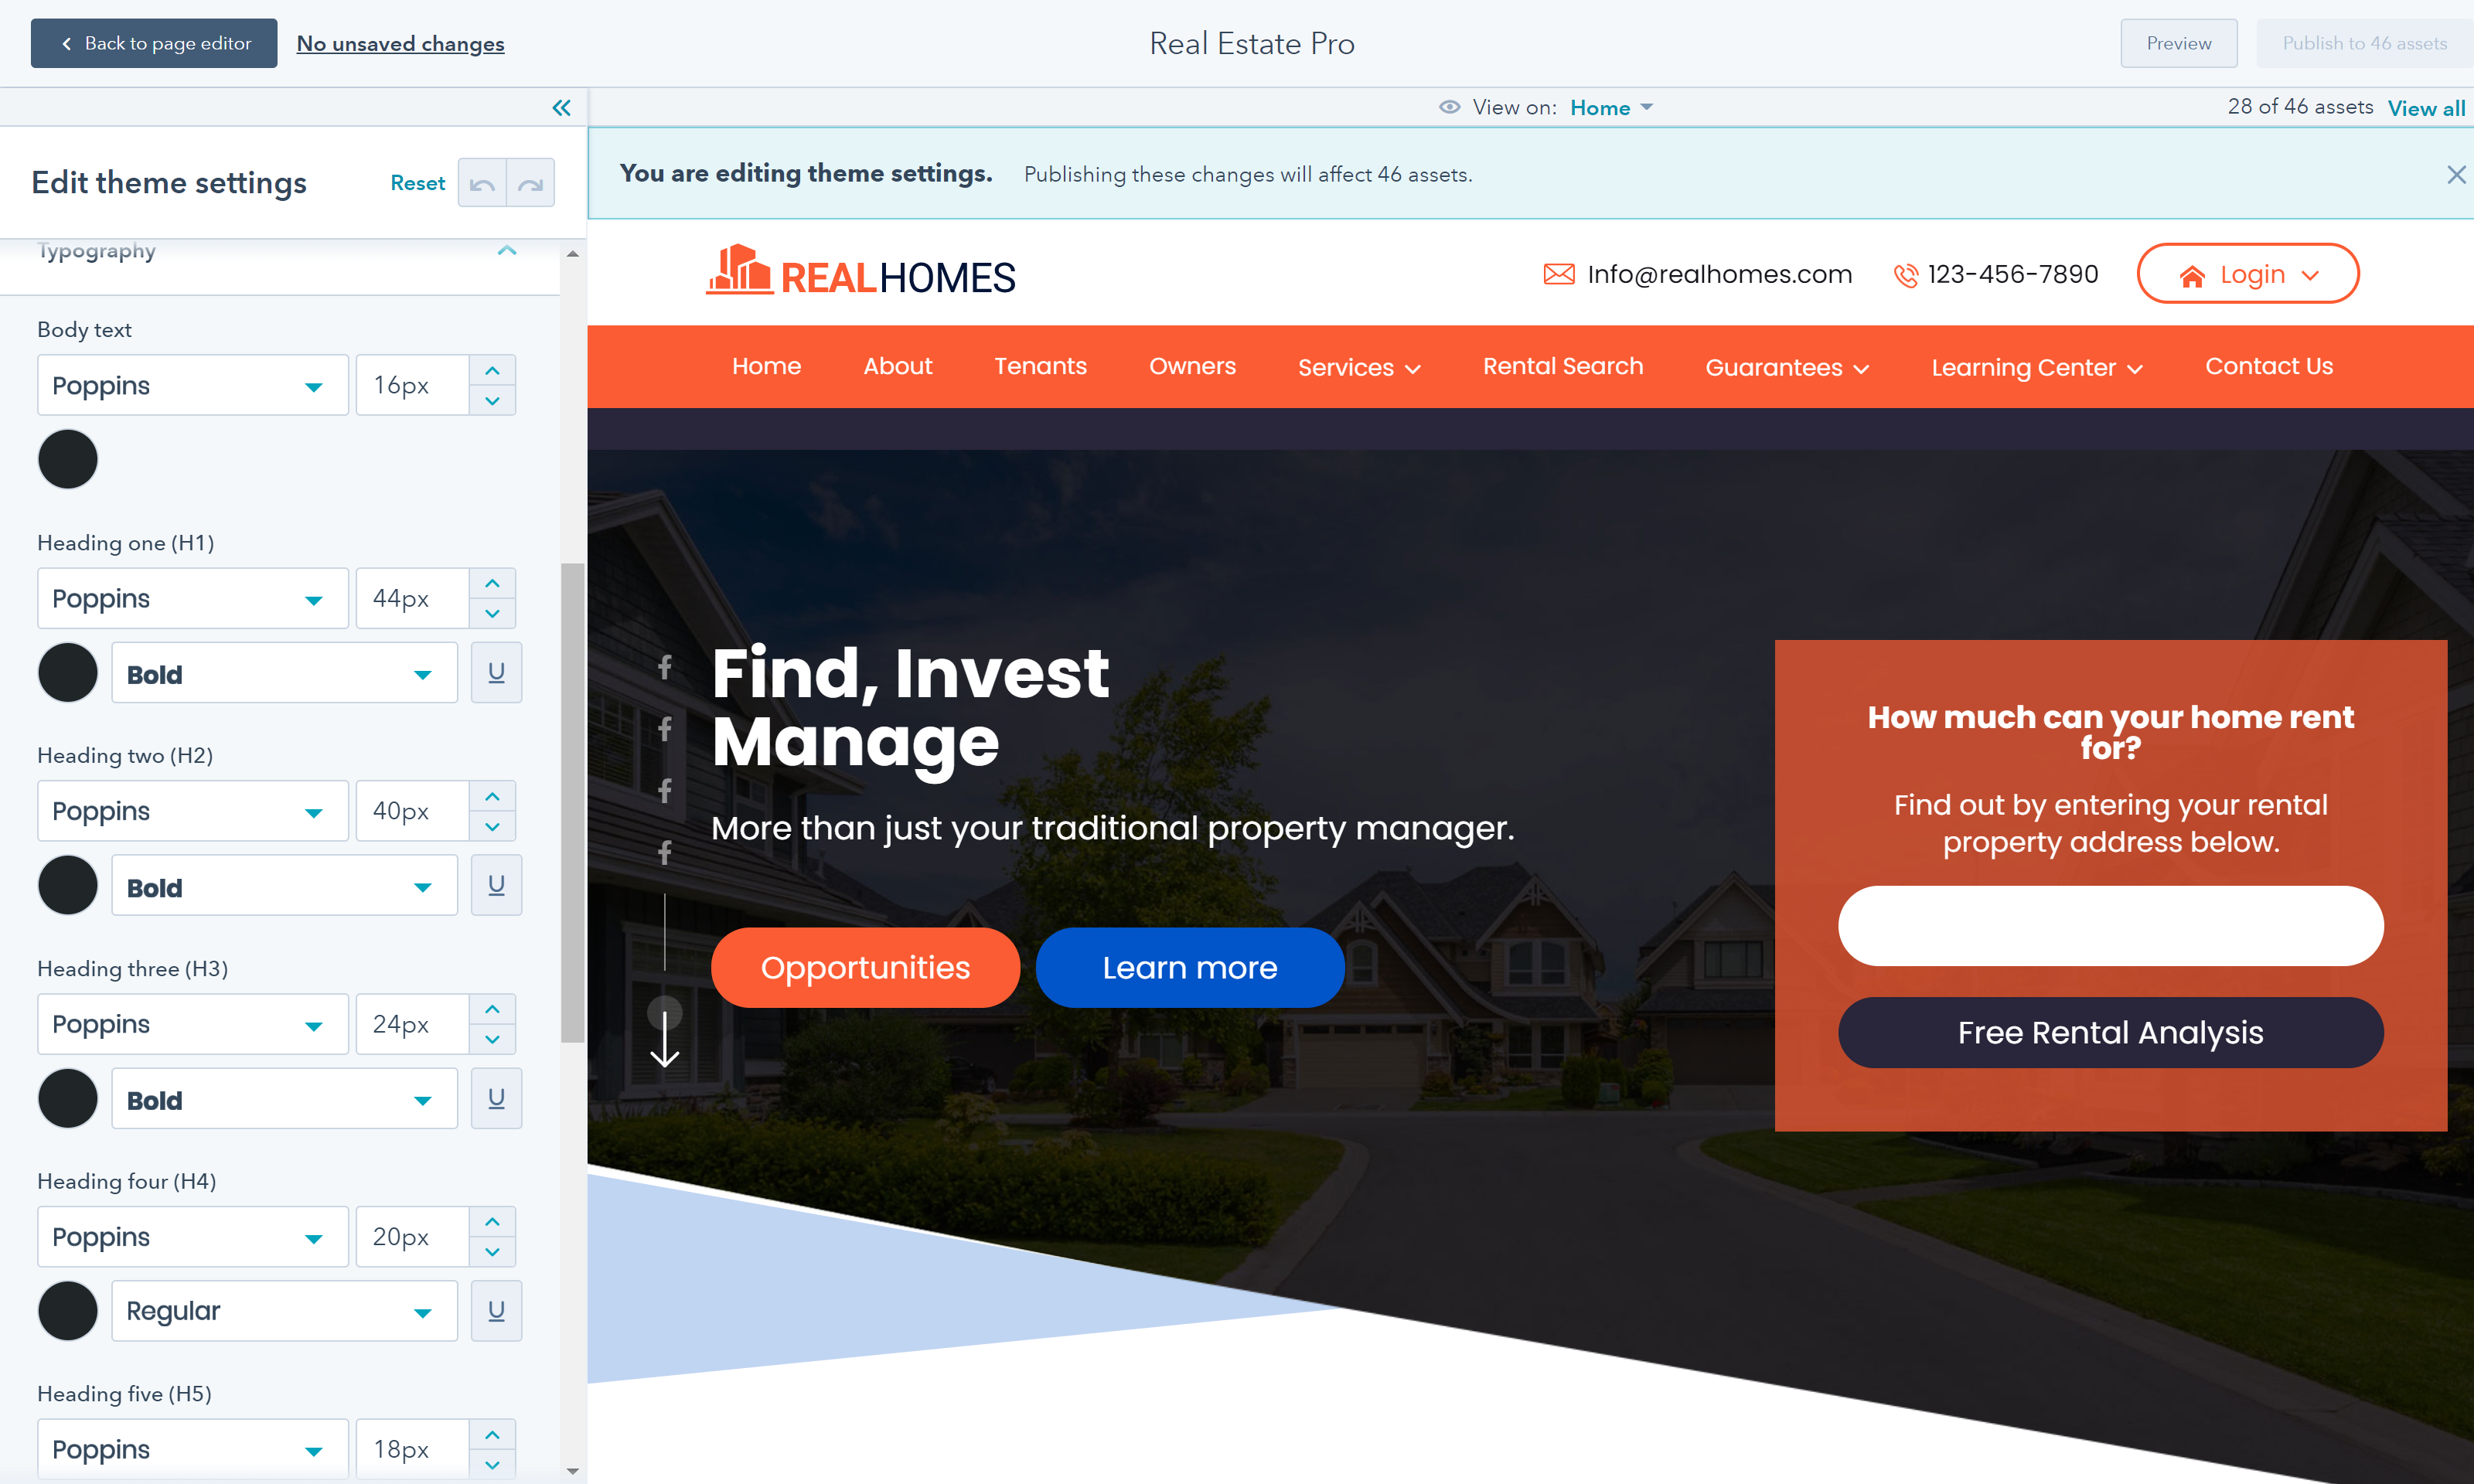
Typography
The Real Estate Pro theme allows you to set your typography including mobile styles from your global theme settings.
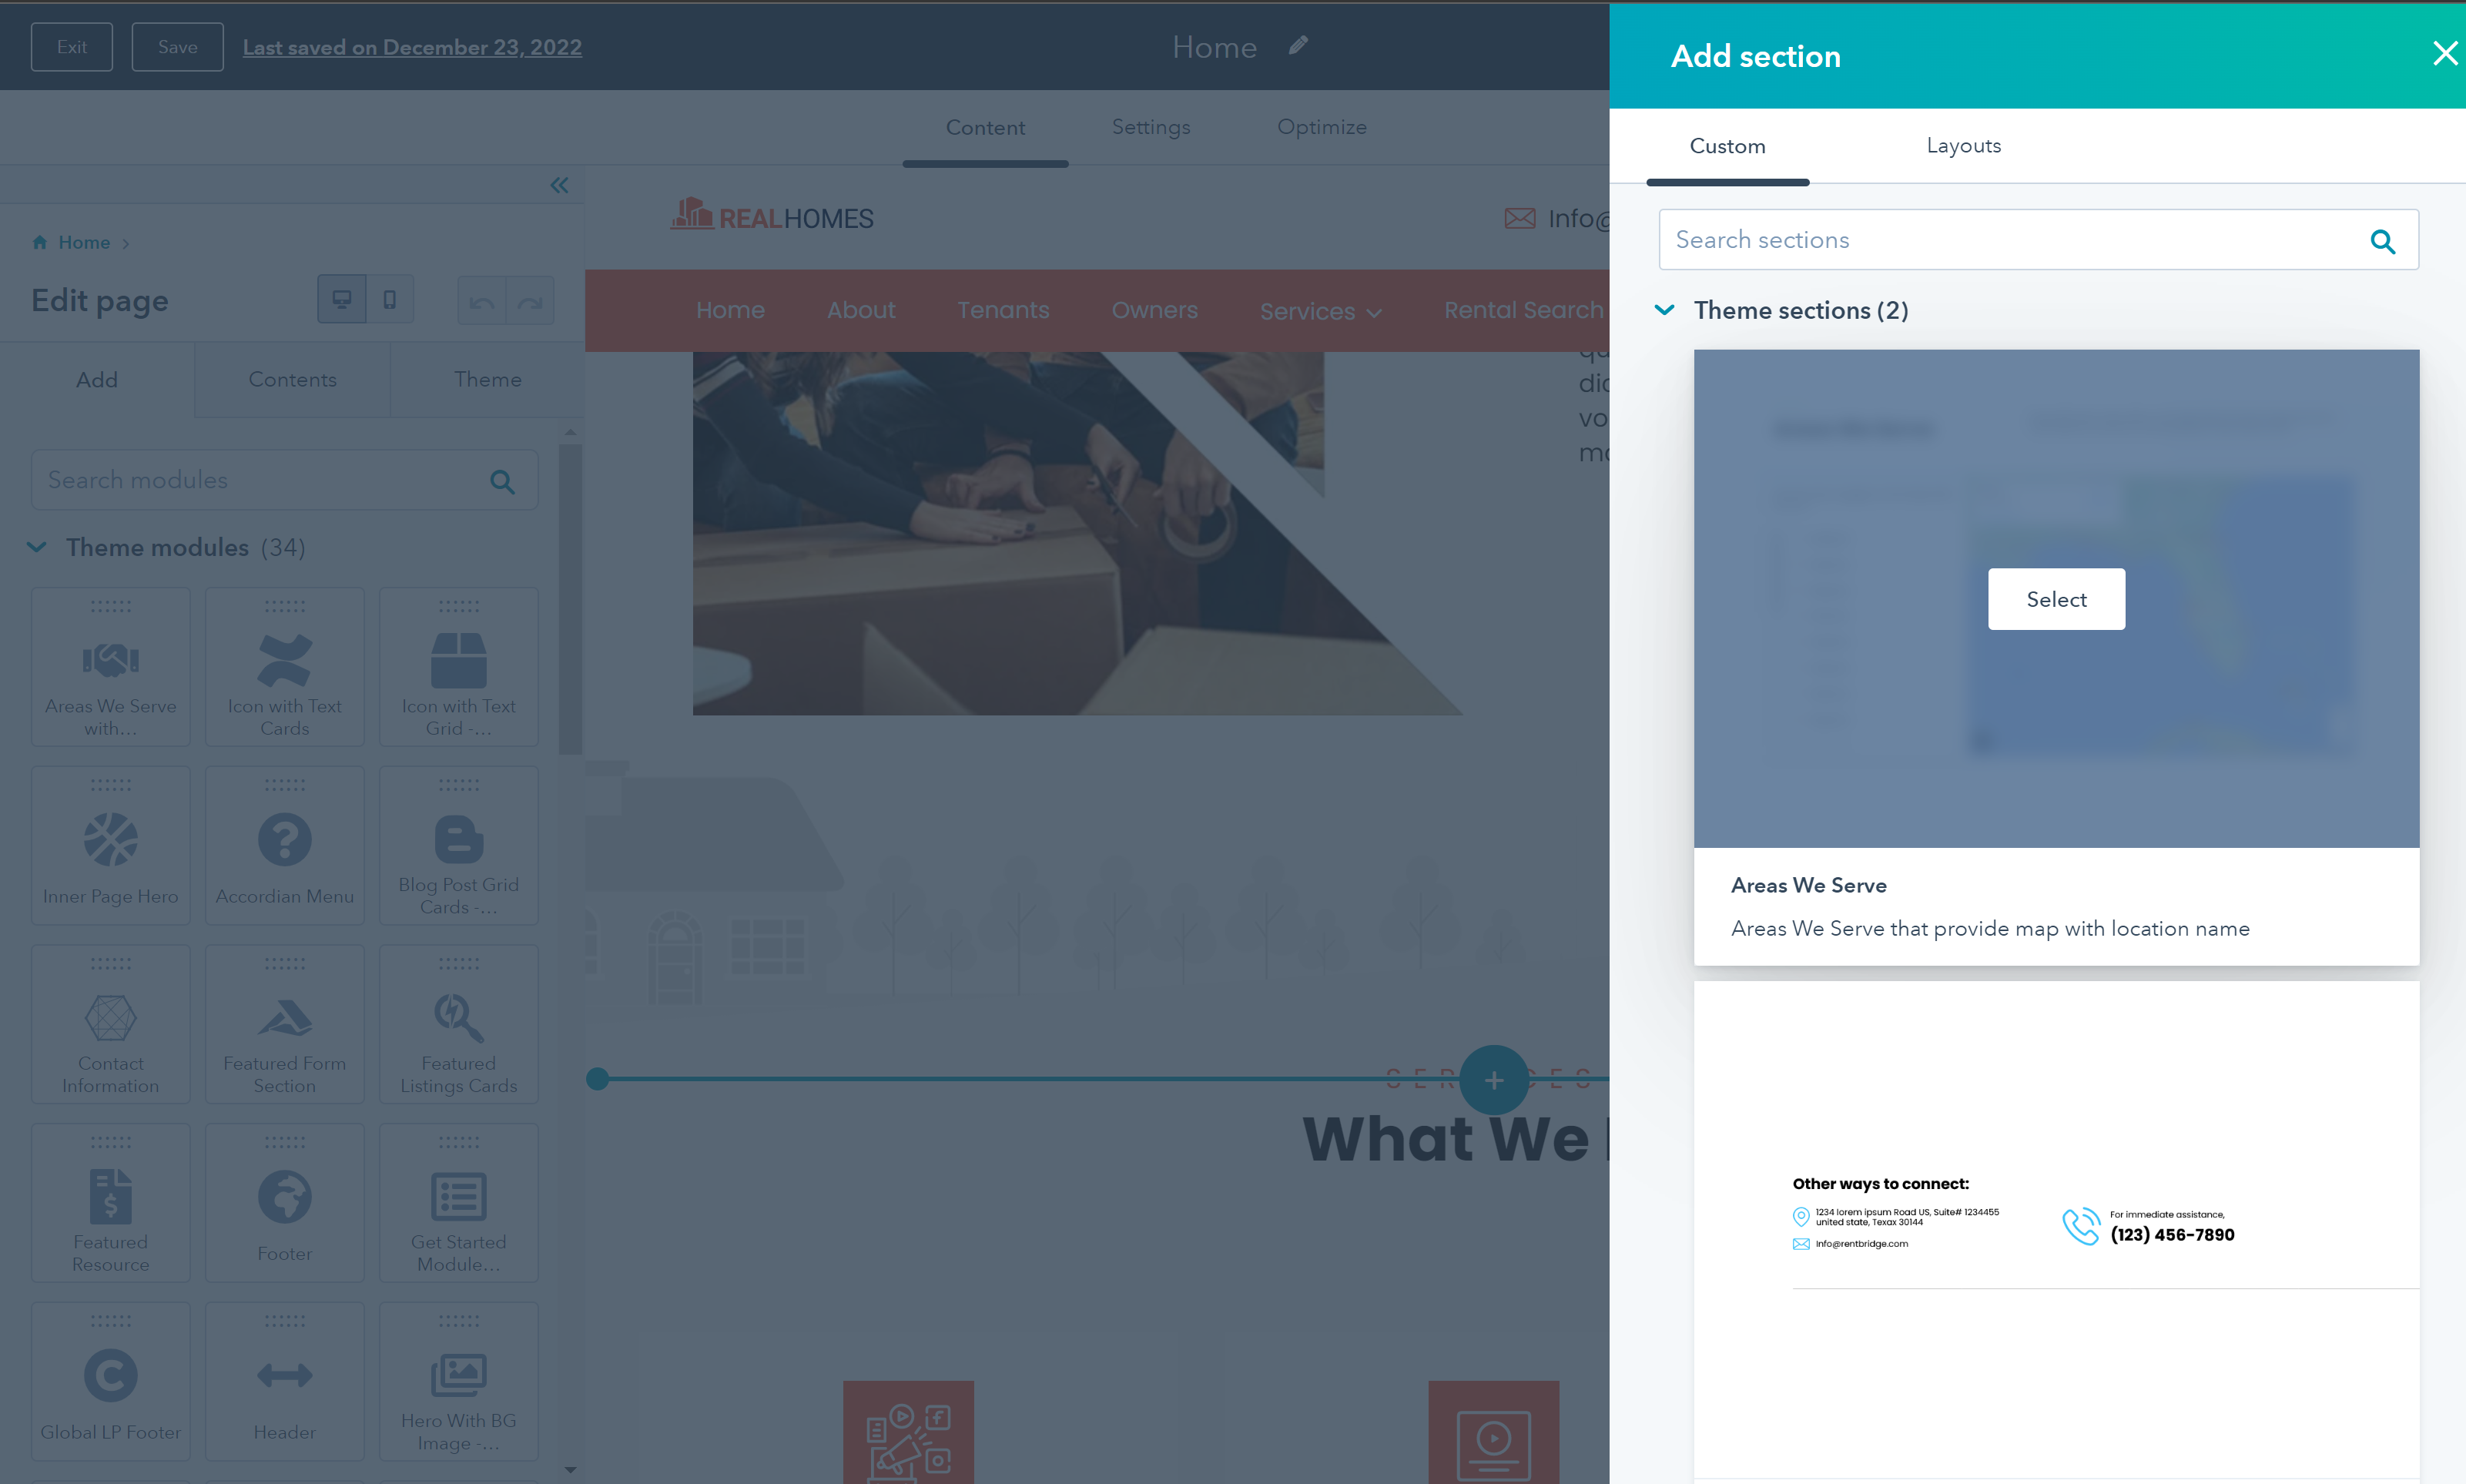
Sections
The Real Estate Pro theme ships with saved sections and contains the ability for you to save your own content sections for use throughout your website.
Listings
The Real Estate Pro theme includes templates and modules to insert listings directly on your website.
There are 3 steps you need to complete to set up your listing pages and post a listing to your website for the first time.
Step 1: Setup your main listing page
You need to add all the filter options, features, and your Google Maps API key before you can make your listings live.
1. The Box group section is where you will add all of your listing details:
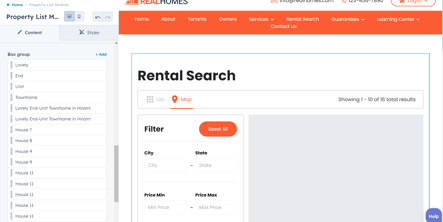
Below are the fields you have to fill out and what should go on there
- Internal Page Link - Link to your inner listing page (Done in step 3)
- Image - Add a thumbnail image of your listing
- Title - Add the specific title or address you want to give your listing
- Subtext - You can add a short description for the listing here or add the address here if you don't have it on the title already
- City - Add which city your listing is in
- State - Add which state your listing is in
- Price - Add your listing rental price
- Property Type - Select your property type
- Features - Select which features apply to your property
- Beds - Add the number of bedrooms
- Baths - Add the number of bathrooms
- SqFt - Add the size of your property
- Button 1 - You can add any link here either for scheduling a showing or link to an application for the property
- Button 2 - You can add any link here either for scheduling a showing or link to an application for the property
- Coordinates - Add map coordinates for your listing so it can show on the map
2. Next you need to add your Google Map API key. You can follow the instructions here on how to create a key if you don't know already. It is recommended for security reasons to restrict the API key to be on your domain URL only. Instructions on how to restrict the key are on the link above as well.
Once you have your API key setup, all you need to do is insert it into the module here:

Don't publish the page after you make these updates.
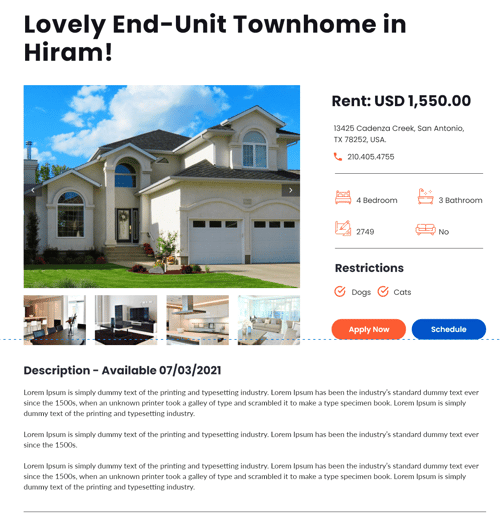
Step 2: Build the inner listing page
Next, you need to build out the inner listing page because you can add the listing to your main listing page.
1. Create a new website page or landing page using the 'Rental Search Inner Page' template
2. Fill out all the details of your listing on the page
3. Publish the page once you have verified all the info is correct
4. Repeat for however many listings you want to add
Step 3
Finally, now that you have all the inner listing pages set up, it is time to link them to the main listing page of your website.
All you have to do here is go to the internal page link of each listing you have on the main page and add the link for the internal listing page you set:
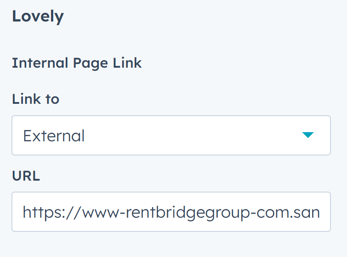
Once you have updated it for all listings then you can go ahead and publish the page to make it live.
At Geekly, we offer automation services that can take care of this hassle for you. You don't have to spend your valuable time and effort on adding each listing manually. Just reach out to us and we'll be happy to help you automate your listing process.