How to create a PandaDoc template including creating HubSpot tokens, assigning roles to fields, adding roles, cc-ing people in a document, preassigning roles, sending a completed document to all signers and creating and sending from HubSpot.
Table of Contents
- Setting Up a PandaDoc Template - Uploading an Existing Document
- Setting Up a PandaDoc Template - Create a Template Manually
- Assigning Roles to PandaDoc Fields
- Sending a Copy of the Completed Document to All Signers
- Create and Send a PandaDoc from a HubSpot Deal
Setting Up a PandaDoc Template - Uploading an Existing Document
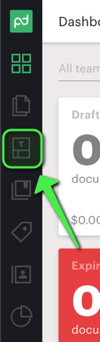
- While logged in to the client PandaDoc account navigate to the Templates.
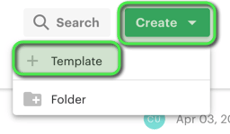
- In the upper right corner select Create -->Template
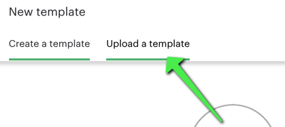
- Then select Upload a Template
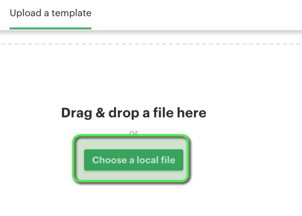
- Then choose a local file. (for the purposes of this Knowledge Base article, we will upload an existing clients document)
- Next, you need to ensure that all the fields in the document are created as Properties in HubSpot and added to the deal panel view under the appropriate panel IE: PMA Drafting if it's a PMA document.
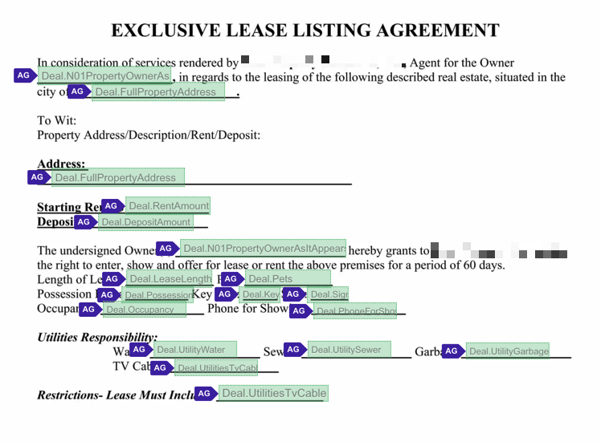
- For our purposes, I am creating a Lease Listing Agreement Document. Therefore, I created a new Property group called "Lease" and added all the properties needed to complete the document there. Below is a screen shot of the document
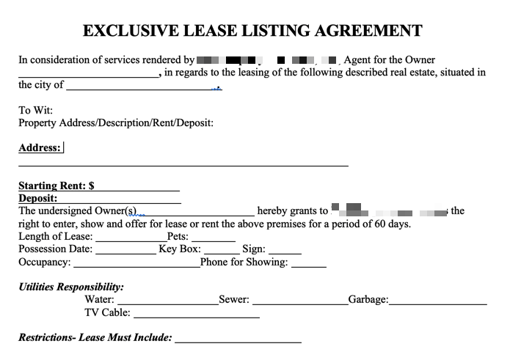
Fields added included:
- Property Owner (as it appears on PMA)
- Full Property Address
- Rent Amount
- Deposit Amount
- Lease Length
- Pets - yes/no
- Possession Date
- Key Box - yes/no
- Sign - yes/no
- Occupancy - Tenant/Owner/Vacant
- Phone for showing
- Utility - Water - Tenant/Owner
- Utility - Sewer - Tenant/owner
- Utility - Garbage - Tenant/Owner
- Utility - TV/Cable - Tenant/Owner
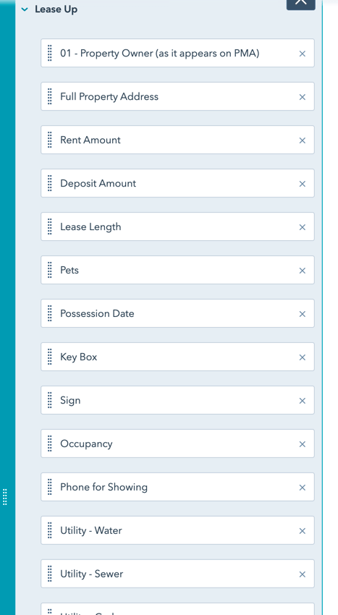
The panel added to the deal view was named Lease Up and above fields added to the view.
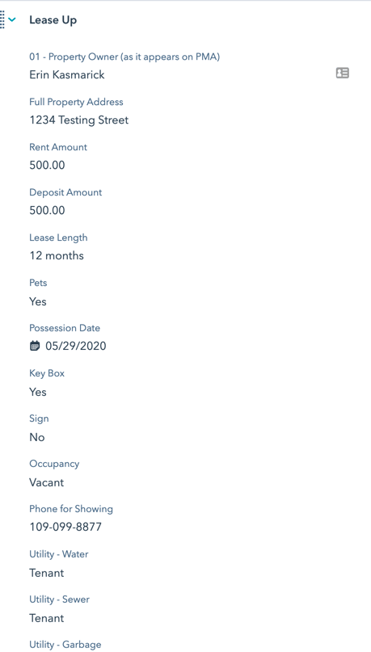
- A test deal was then created in HubSpot and the fields were filled in on the deal record.
TIP: Always associate a contact record to a deal, especially when creating a PandaDoc.
- After you have populated all of the information in the newly created properties, while still in the deal in HubSpot, navigate to the deal right sidebar and scroll down until you see PandaDoc.
- Click on Actions then show PandaDoc Tokens.
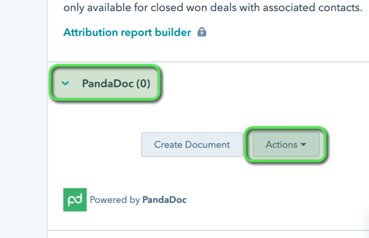
WARNING: PandaDoc Tokens will NOT show up unless information has been added into the deal.
- While you also have PandaDoc open, you will want to add a Text Box to each field that will need to be entered. See how here.
- Next you will need to access the PandaDoc tokens as mentioned above. See how here. For each field, you will want to find the corresponding token and add it to the text field in PandaDoc. See how here.
TIP: Copy and paste the tokens in WITHOUT Brackets or the tokens will not pull.
NOTE: Make sure you use the SIGNATURE type field when it comes to inserting a field for people to sign the document. Also make sure you add the date field next to it.
- When you are done, your PandaDoc template should look like this (the purple AG are who is signing. We go over this next):
NOTE: If you need a blank field, you would still pull over the text field, you just wouldn't put a HubSpot PandaDoc Token in it and it would have to be assigned to someone to fill out.
Setting Up a PandaDoc Template - Create a Template Manually
In some cases a template may need to be created manually. Examples of this can include but are not limited to: when they need to regularly edit the terms and conditions, when they don't have a blank template (IE they send a filled out one) or if sets of information need to be removed/edited.
- While logged in to the client PandaDoc account navigate to the Templates.
- In the upper right corner select Create -->Template
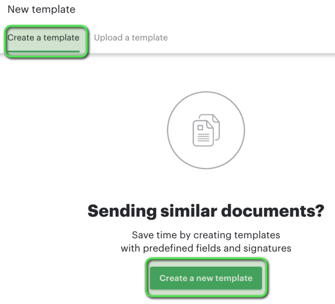
- Then select create a new template.
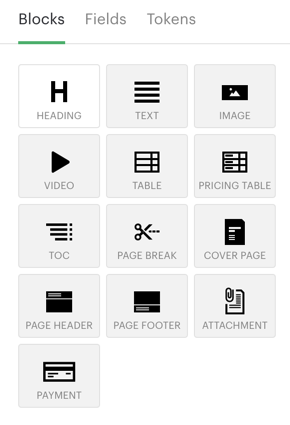
- A blank document will open. Now you will have to add blocks to the document to create it. Options for these blocks include:
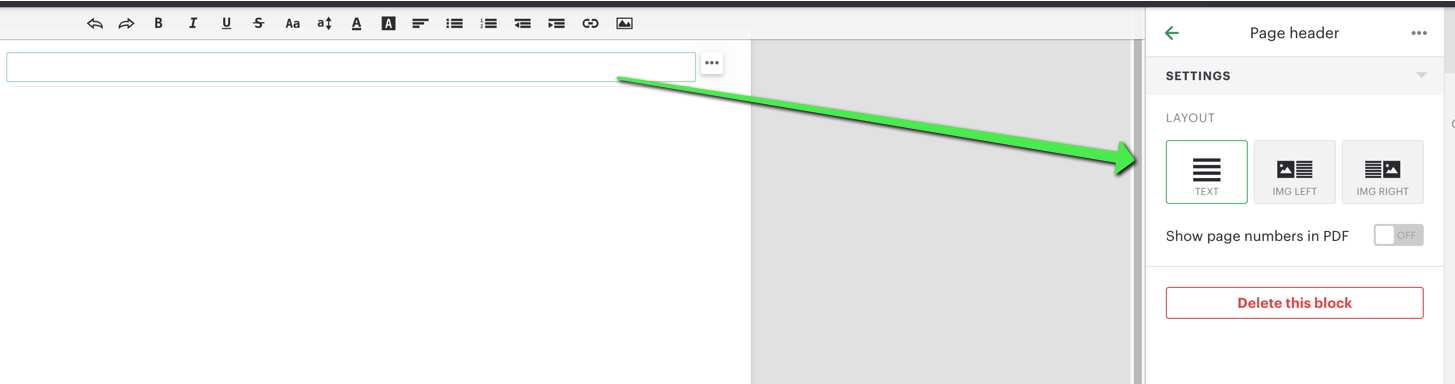
- More often than not, you will have to add a page header (this will appear at the top of EVERY PAGE) with the clients logo. All blocks are able to be dragged and dropped onto the template.
- Use the options at the top of the screen to edit the formatting of the text or to add an image to the document.

- You are also able to adjust the layout of the header block as seen in the right side panel:
- When creating a template from scratch, please make sure to watch that you are not exceeding the length of the page. The page will automatically move to accompany more copy, however this will not show a page break then. When you reach the end of a page, insert a page break.
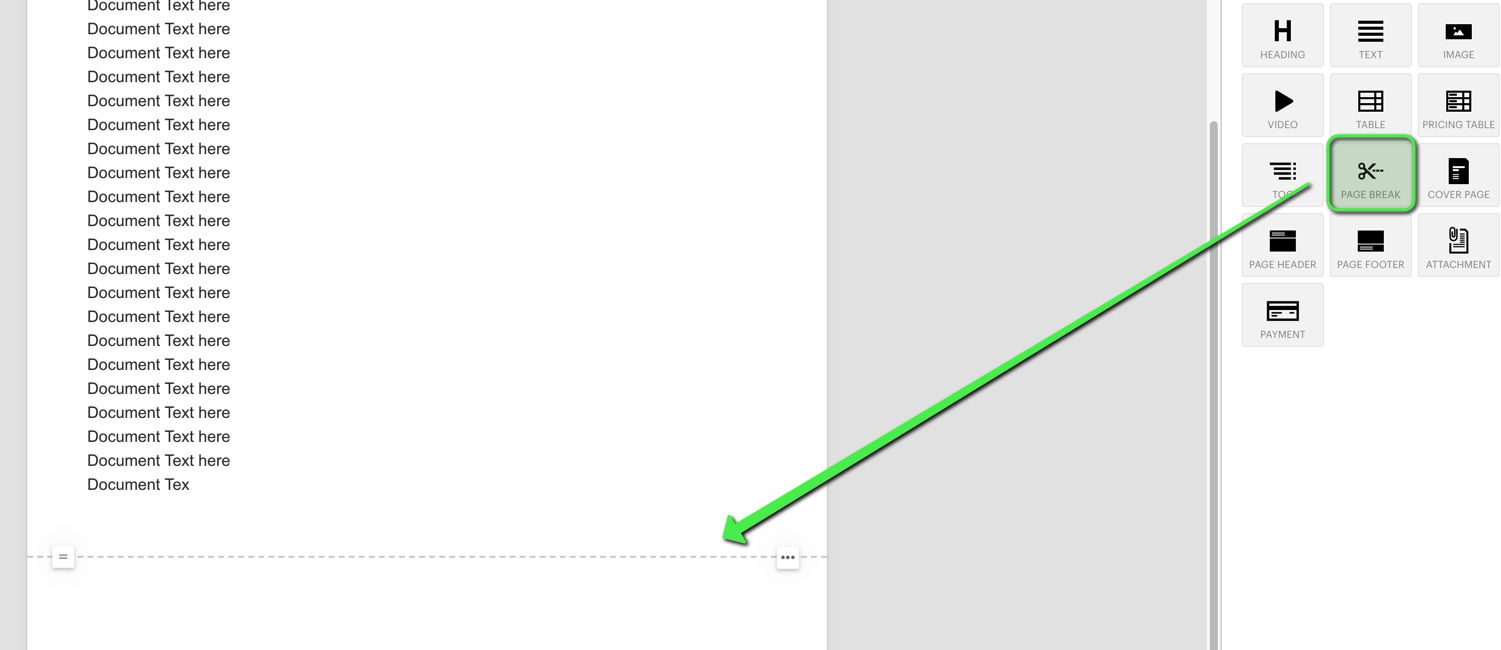
- Insert another content block after the page break to keep working in the document.
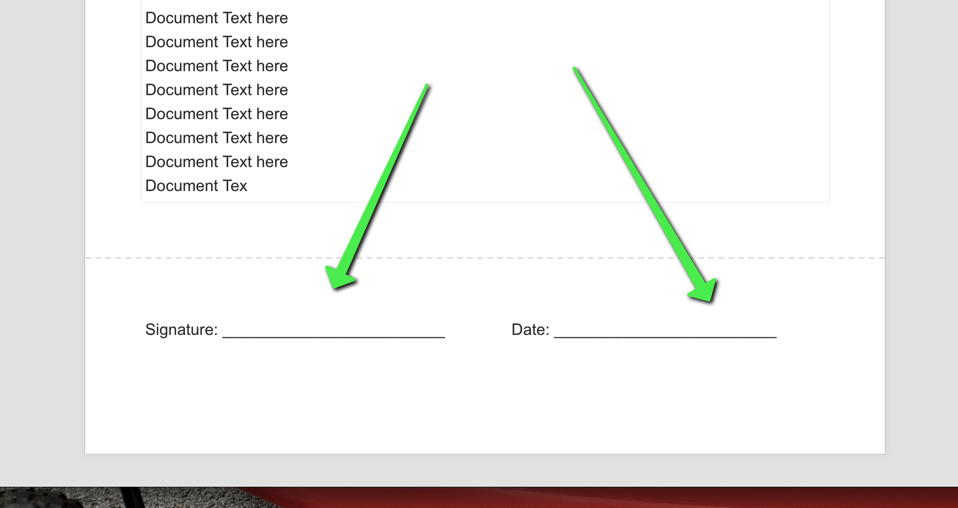
To create a line in PandaDoc, hold down the shift and - . Count how many times you hit the - so the lines can be consistent throughout the document, especially for signatures and dates. Or make one line and copy and paste the line for consistency.
When you are ready to add your HubSpot tokens, it's the same process. Make sure the properties/fields are created in HubSpot. Create a test deal, populate the properties/fields that you need in that deal and show PandaDoc Tokens. Paste the tokens into the document. (These steps can be found in greater detail under the "Setting Up a PandaDoc Template - Uploading an Existing Document"
TIP: Tokens need to be directly copied and pasted into manually created templates WITH the brackets (NOT inside of a text box)
Assigning Roles to PandaDoc Fields
- After you have populated your PandaDoc template with tokens or while you are populating the Template with the tokens, you will want to create/select/assign a role to each field. Who is responsible for filling out each field. The HubSpot tokens need to be assigned as well. These are typically assigned to the Agent/Broker/BDM since they put them Into HubSpot anyways. See how here.
TIP #1: You are able to assign a signing order. If the Agent prefers to sign after the property owner make sure this is specified. See how here.
TIP #2: You are able to CC a person on a document one of two ways. The first way would be on a send by send basis while creating the document that you are going to send. See how here.
The second would CC the SAME person each time the document is sent (Note: You have to do this in the template to do it this way). See how here.
TIP #3: You are able to PRE-Assign roles if they will remain consistent on documents for each send (Note: This is again, done at the template level). See how here.
Sending a copy of the completed document to all signers
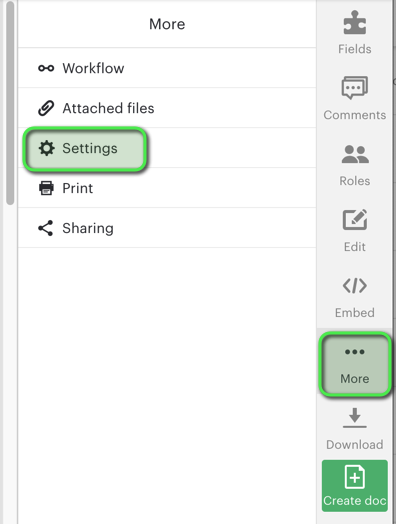
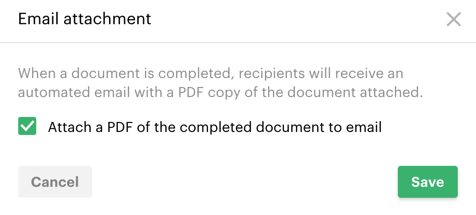
To send a copy of the completed PandaDoc document, go to MORE --> Settings
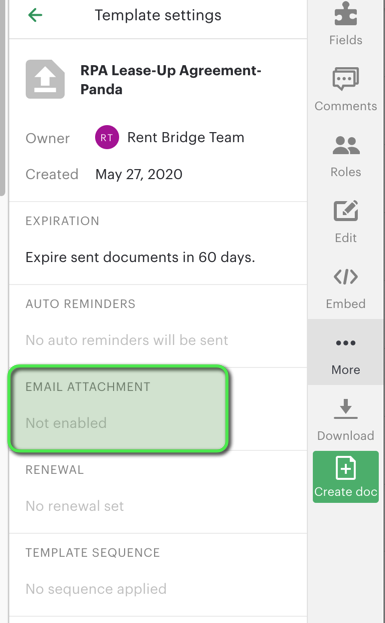
Then select Email attachment and select Enable.
Create and Send a PandaDoc from a HubSpot Deal
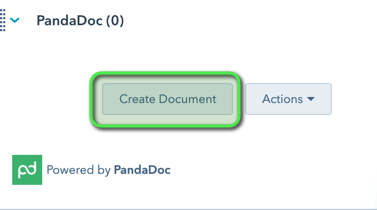
- Navigate to HubSpot Deals. You should already have a test deal created from getting the PandaDoc tokens. Navigate to the same test deal and find the PandaDoc panel on the left side. Select "Create Document"
- PandaDoc will open. Find and select the template that you created/need.
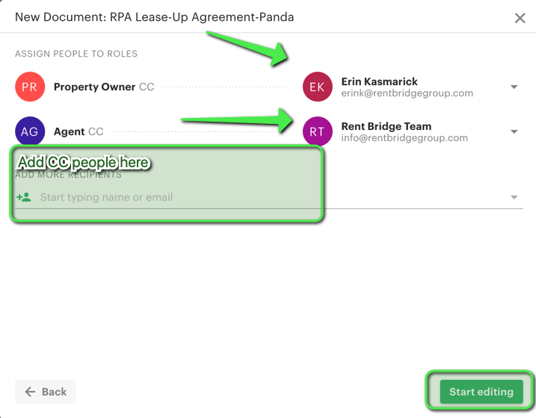
- All roles that you created in the template will appear. Now you have to assign them to each person responsible for that role in the document.
TIP: Make sure all fields that are in the left side panel are filled out. The HubSpot fields are what populates the PandaDoc.
TIP: If you have the Property Owner(s) associated to the deal, their name and email will show when you select the dropdown to assign the roles for this document. If you have anyone who needs to be cc'd on this document, you are able to add them under the Assign People to roles area.
- Once the roles have been assigned you can select start editing. At this point, review the document and the fields that have been populated from HubSpot via tokens.
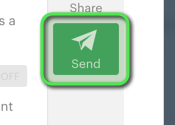
- When you are ready to send, click send.
- You have the opportunity to Rename the document if you so choose as well as send the recipients of the document a note.
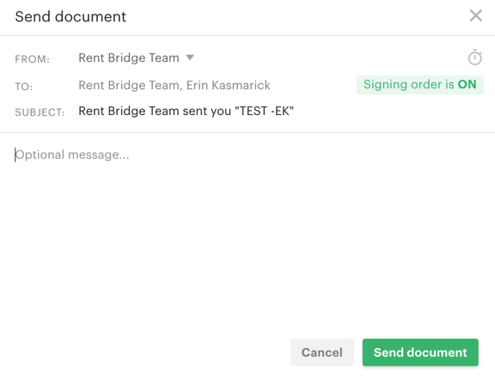
NOTE: If you have the signing order on, it will automatically send to the next person in line. Once the document is signed by all parties, all parties receive a copy.