This guide will help you install an HTML email signature properly in Gmail. Make sure you have your new signature ready and ensure you follow each step carefully.
Step 1 — Download your HTML signature file to your computer
To avoid any formatting issues in the backend, it is advised that you download and open the HTML signature file from your computer instead of opening it directly from the browser.

Step 2 — Open the HTML file on Chrome
It is recommended to use the Google Chrome browser to open the HTML file, using firefox, edge, or safari to open the file has been known to cause issues with installation.
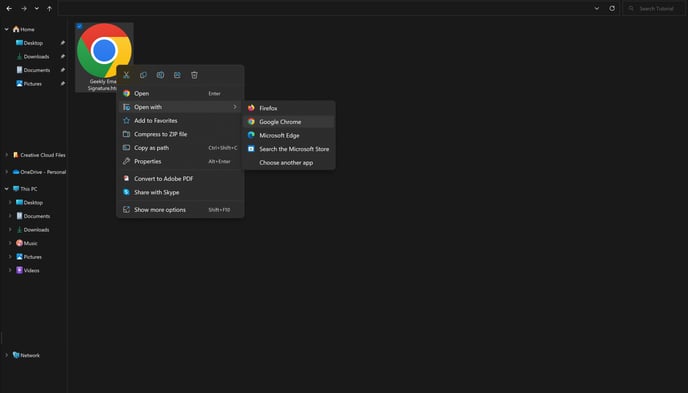
You can right-click and open the file on Chrome from there or drag and drop the file to Chrome.
Step 3 — Copy Signature
Once the file is open on Chrome, press CTRL + A (CMD + A ON Mac) to select the whole signature design then copy the signature by pressing CTRL + C (CMD + C for Mac) or right click and click on copy

Step 4 — Add copied signature to Gmail signature box
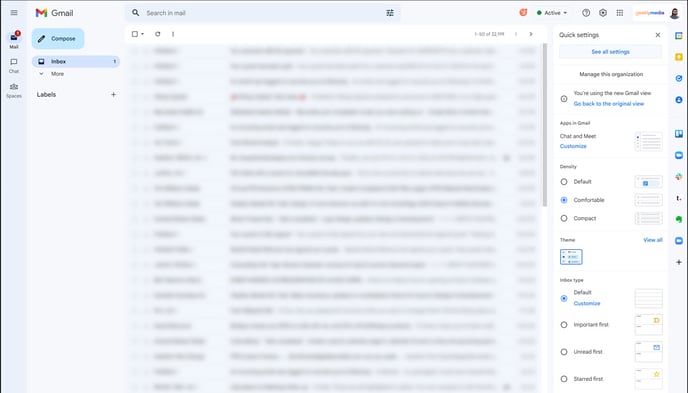
Go to your Gmail account and click on the settings icon in the top right corner then click on the See All Settings button
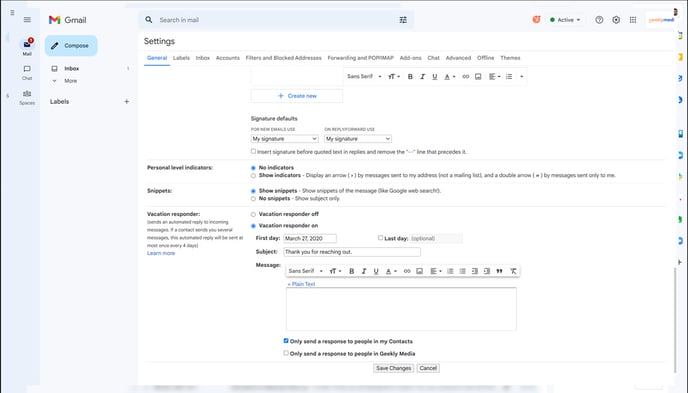
Once in the settings scroll down to the signature box and click on the new signature button to create a new signature. You can name it 'My Signature' or whatever you want to name your new signature.
Click on the empty box that shows on the right and press CTRL + V (CMD + V for MAC) to paste your signature inside that box. Make sure it looks like it does on the original Chrome tab.

Under Signature Defaults, make sure you have set the new signature under both dropdowns 'For new email use' and 'on reply/forward use'.
Scroll down a bit further and save your changes
Step 5 — Your signature is now installed!
After saving you'll be redirected to your main inbox. Click on compose a new email or send a reply to an email to see how your new emails signature looks.