Creating a new Py-Per-Lead City landing Page and Thank you Page.
This will be a step-by-step guide on how to create a new landing page and thank you page for a new Pay-Per-Lead location.
Step 1; Login into your HubSpot account and make sure you are inside the Geekly Media Account (#4024084). Once logged in head over to the Content drop-down menu and select landing page.
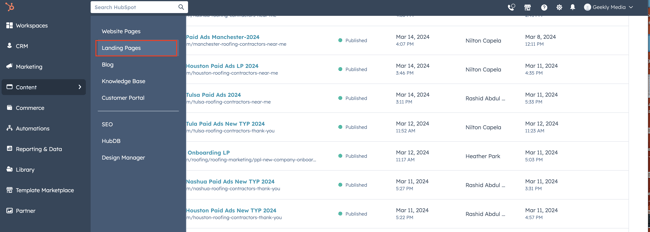
Step 2; Once you click through to landing pages you will see a list of both published and drafted landing pages that have been created. You will be looking for a landing page titled "[Roof Estimator] Paid Ads Template". Once you find it, you will then clone the page.


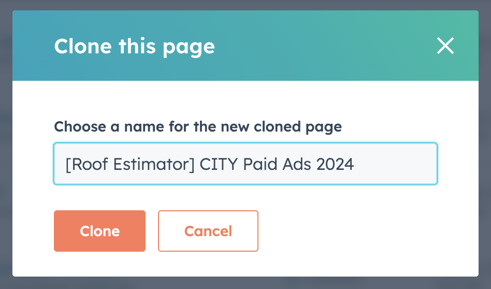
Step 3; Now that you have clicked through and cloned the Template, you will need to rename the new landing page. This is how you will rename the new landing page.
Template name; [Roof Estimator] Paid Ads Template 2024
The naming convention for the new landing page; [Roof Estimator] CITY Paid Ads 2024
Step 4: Now we are going to cover the sections that will need custom location-based content or edits for the new city you are targeting.
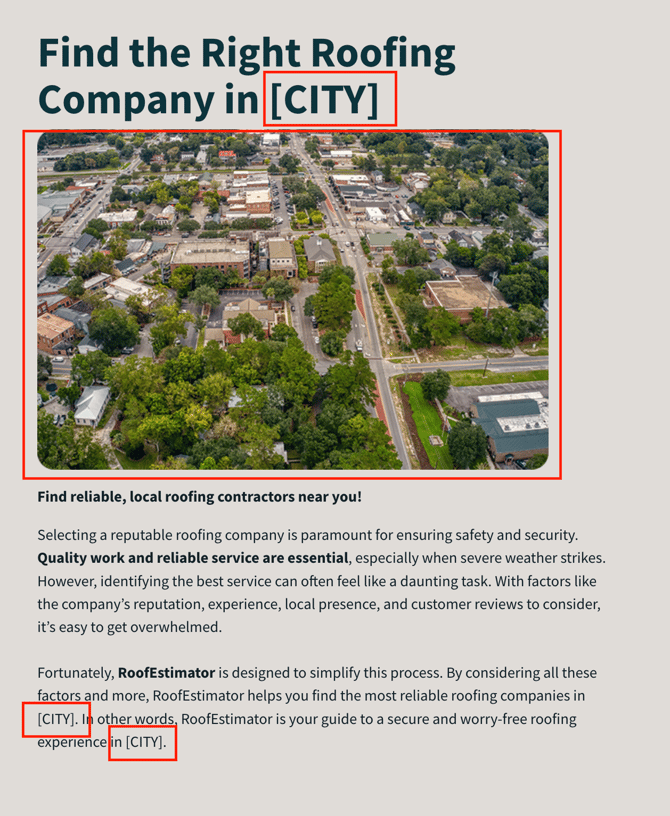
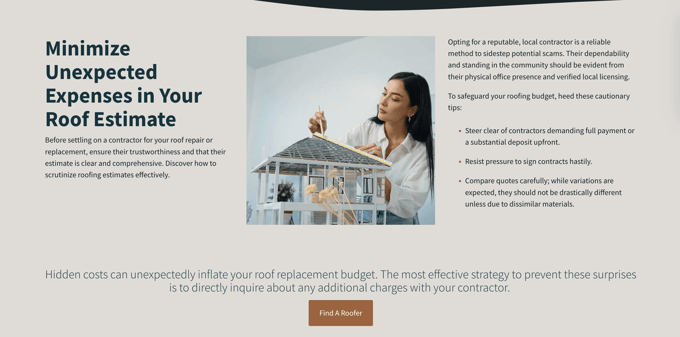
Area 1: Header section:
The page title and supporting text on the header will need to be updated based on the city you are targeting.
Additionally, you will want to update the image ALT text for the images being used on the page as well. The graphic to the right of the text is the first image that needs to be updated.
Naming convention for image ALT text on these Pay Per Lead landing pages: [CITY} Roofing Contractors

Area 2: Content Module #1
Once the header is addressed and updated with location-specific content the next content module that needs location-specific content in directly below. Within this section you will need to update:
- In the heading for that area, you will replace [CITY] with the name of the city you are going to target with this page.
- The image below the heading will need to be replaced by sourcing an image of the city skyline in which you are targeting, Example; if you are targeting Denver as your city, you will source an image of the Denver city skyline and replace the current image
- Please be sure to also update the ALT text for the new image. That name convention again is; [CITY] roofing contractors
- The content below the image will remain the same, the only edits for that content will be replacing [CITY] with the name of the city you are targeting.
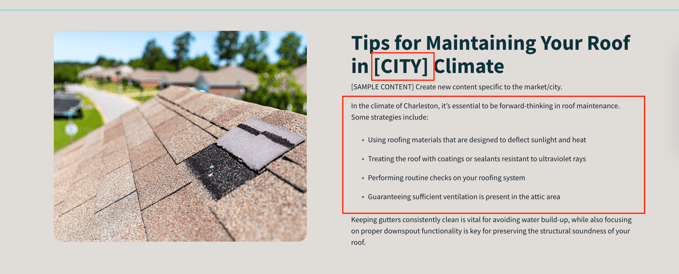
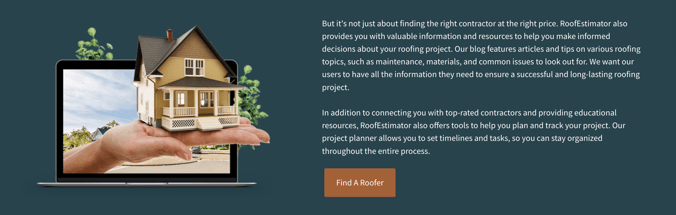
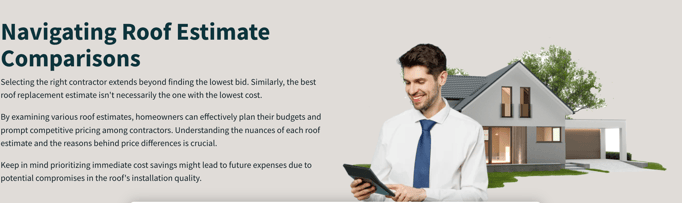
Area 3: Content module #2
Once content module #1 has been updated, content module #2 is the following section of content that needs to be address. The edits for this section is as follows:
- Replace [CITY] with the target city within the heading of this content section
- Take the existing supporting content that is below the header, copy the content and paste it into a new prompt within ChatGPT.
- When you are in ChatGPT and have the template content pasted within, please add in the following prompt: Recreate a new version of the above content but recreate it based on [TARGET CITY] & follow the same format.
- Once ChatGPT creates the content and you have fact checked that the information is correct, copy the next content and replace the template content that you previously copied.
- Please note; when pasting content into HubSpot you may have to preview the text to ensure that the formatting is correct.
- FInal edit for this section is to address the ALT text for the image being used, it does not have to be replaced. ALT text to be updated to; [CITY] Roofing Contractors.
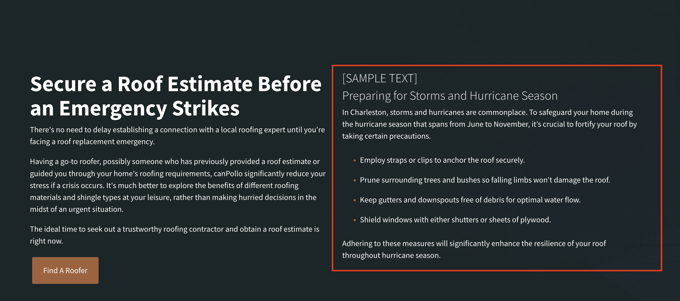
Area 3; Prepare for an emergency content:
In this section, there are no images that need to be updated. The content on the righthand side is going to lication-speicifc while the content on the left hand side will stay. For this content you will again use ChatGPT to come up with the content by following these steps:
- Copy the content that is below the heading [Sample content] and paste it into a new prompt within chatGPT and enter the following to finish the prompt: "recreate the above content but with information that is relative to [TARGET CITY] and be sure to follow the same format as above.
- Once ChatGPT create the content, please fact check the information to ensure accuracy.
- Now that you have confirmed the accuracy of the information, go ahead and copy that content and paste it where the template content sit.
- Please be aware, when pasting content into HubSpot it may alter the formatting, be sure to preview the content and make sure the formatting is correct.
Area 4; Remaining images who's ALT text needs to be changed to [TARGET CITY] Roofing Contractors. You've updated all the content that needs to be location-speific but there remains a few images that needed to be edited.
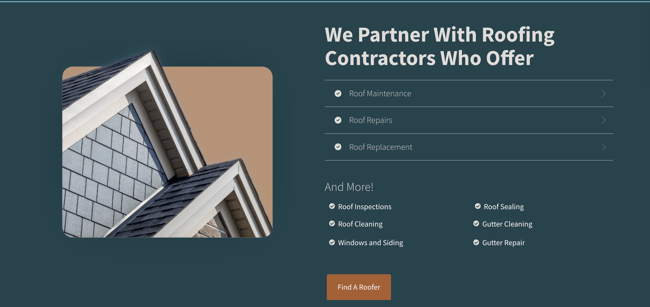
Please note on the above section, there are 4 images who ALT text needs to be updated within this section.
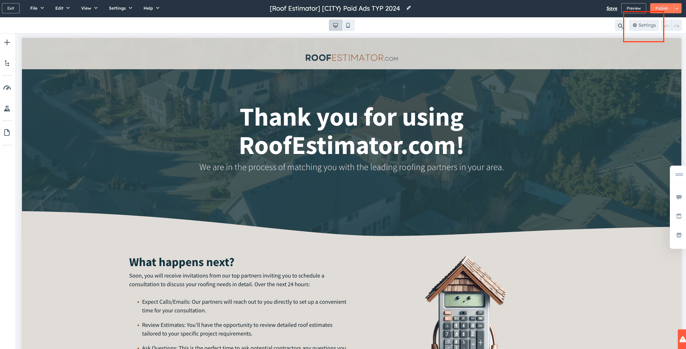
Step 5: Creating the thank you page and connecting it to the forms on the [TARGET CITY] landing page forms. Now that you have replaced the necessary content and images and made sure to update all of the ALT texts for the images, now you will want to go back to the landing pages area you had start with.
Once you are back on the landing page section of HubSpot you will want to look for a thank you page (TYP) titled [Roof Estimator] Charleston Paid Ads New TYP 2024. Just as you did with cloning the template you will close this TYP as well.
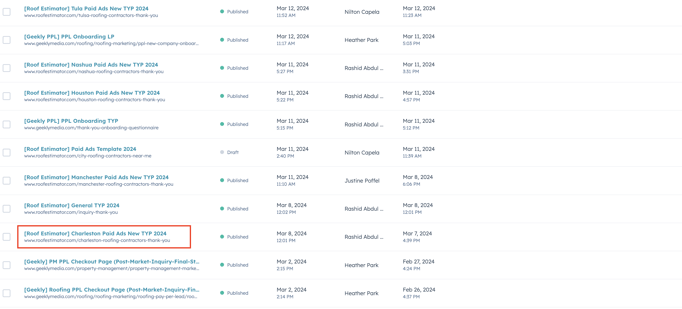
Once you click through and clone the TYP, this is the naming convention you will be following for the new TYP; [Roof Estimator] [CITY] Paid Ads TYP 2024. From there you will hit the clone button.
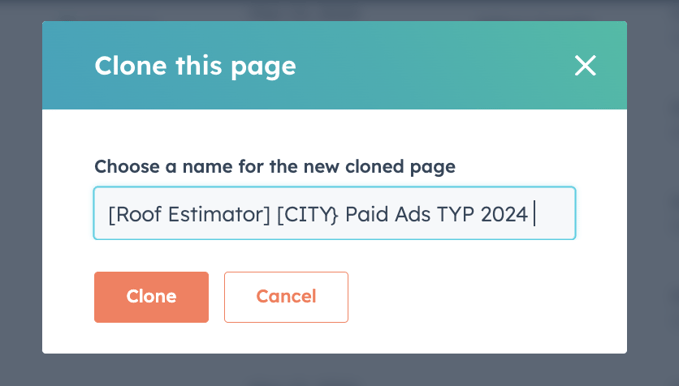
Now that you have cloned the TYP for you target city, the only edit is for the URL itself. Once you are redirected to your Target City TYP page. look in the top right hand corner for the setting on that page.
Once you click on that setting button you will have the below setting options open up:
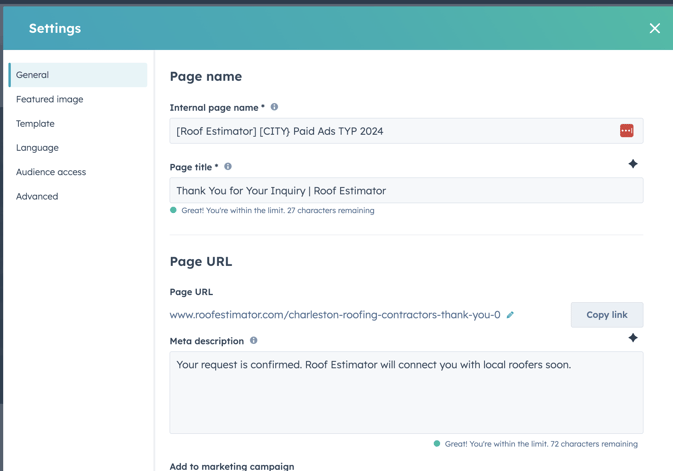
You will not go ahead and edit the URL of the page so that to matches the following naming convention: /[CITY]-contractors-thank-you

Step 5; Now that you have the created the draft of the target city's TYP and modified the URL to the correct naming convention, you can now publish the TYP page, copy the URL and head back over to you CITY landing page you had cloned earlier.
We will now be inserting the TYP URL to all the forms and CTA through the landing page.
Once you get back to you CITY landing page, you will want to click into the first form on location directly below the main header section. From the left hand side the editor will pop-out and you will be given a couple content areas to choose from. You want to click on Content(column 2);
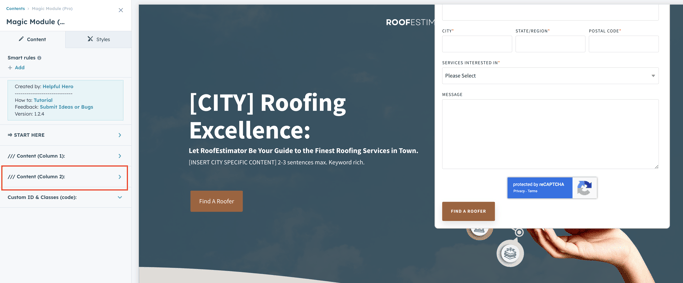
Once you click, it will bring you to a new window on the left hand side, titled "Call to Action Form" and you will click through to edit the form.

Once you click to edit the form, you will be directed to a new window on the left hand side, as this point you will want to scroll down until you find the "thank you" dropdown section in which you will open up that drop down menu, the goal is to find the area where it says "redirect link"
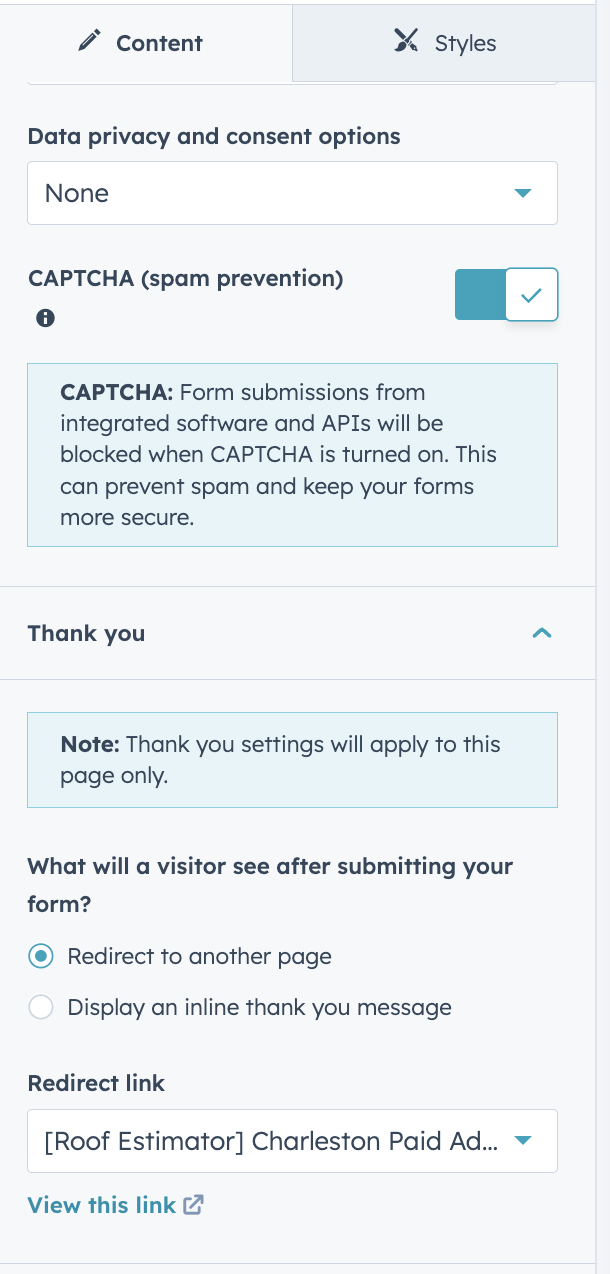
Once you find the "redirect link" field you will click to open up the drowndown menu. At this point if you published the TYP you were working on, all you have to do is search for that page and click on it to replace the existing TYP link that you will see.
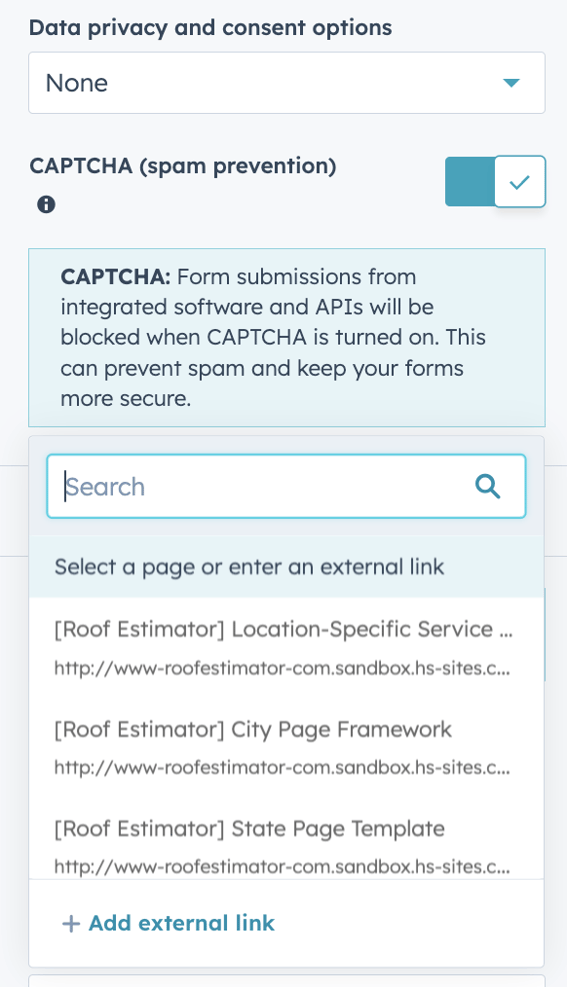
Once you page is selected, go ahead and apply the changes to that section to confirm the change.
Below are the following forms and CTA that you will need to update the same way. And be sure with every edit you apply the changes before moving onto the next section.

Step 6: Once the content has been updated along with the image ALT text and the forms all have the correct TYP to redirect to, the final step is publishing your CITY landing page and testing the forms once published.